Beyond the IKEA Lack Table: 8 Creative Ways to Use the Viral Peel-and-Stick Tiles
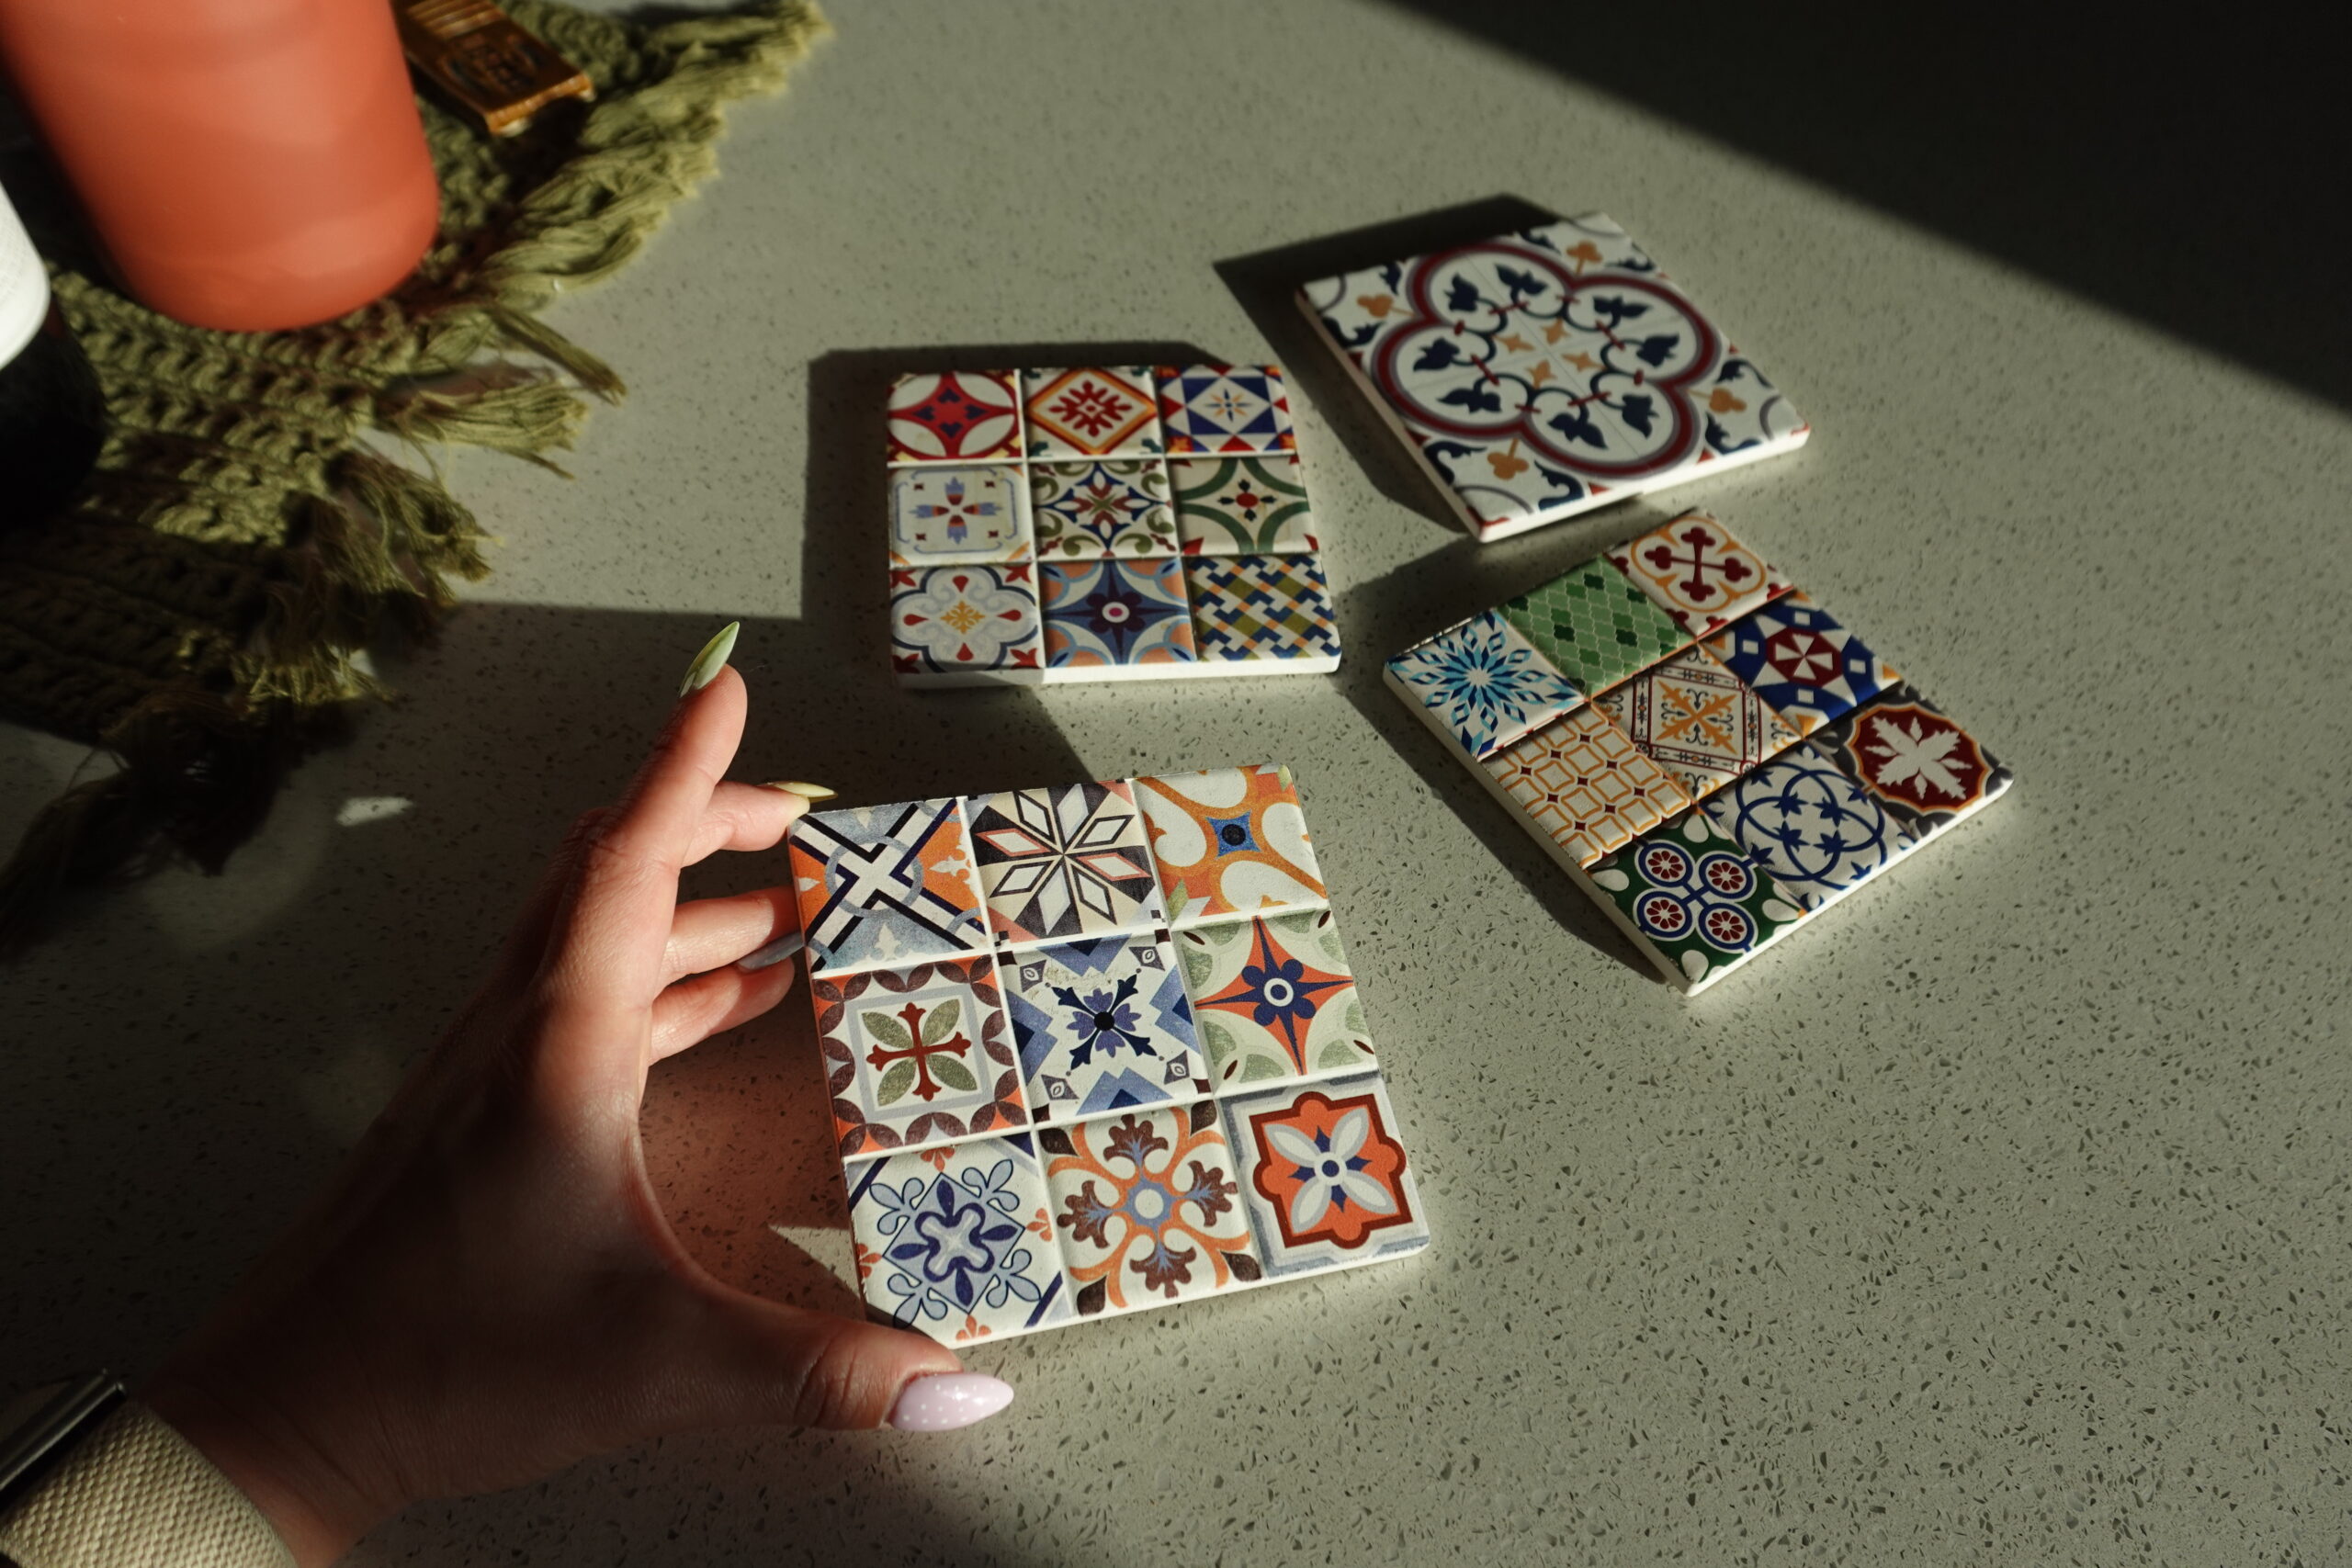
If your For You page looks anything like mine, you have watched approximately four hundred people transform a plain white IKEA Lack table into what looks like a chic little mosaic side table — using nothing but peel and stick tiles. It is the craft trend that refuses to quit, and honestly? Deserved. The transformations are adorable and the whole thing costs about the same as lunch.
Here is my thing, though: I do not own a Lack table, but I still want to play with these peel and stick tiles. I am not about to buy furniture just to have something to tile. So I went hunting for every other surface these could work on — and there are so many more than the trend lets on. Consider this your permission slip to put the viral tiles on something that isn’t an IKEA cube.
Quick honesty note: this is an ideas post — a running list of the surfaces I am itching to try, plus the one I am genuinely tackling first. When I actually do them, you’ll get the real before-and-afters. For now, let’s brainstorm.
Shop This Post
*This post contains affiliate links. I may earn a small commission at no extra cost to you.

First, a Confession: I’ve Actually Tiled With These Before
I am not coming into this totally green. About five years ago, in our previous home, I put peel-and-stick tiles up in one of our bathrooms — a room with actual daily moisture, which everyone online will tell you is the danger zone for these. I braced for them to peel, curl, or go grimy at the edges.
They did not. They held up beautifully for years, through steam and splashes and all of it. And installing them? Genuinely like sticking on giant stickers. Peel, line up, press, done. That experience is the entire reason I trust these enough to want to try them on half the surfaces in my current home.
Do Peel-and-Stick Tiles Hold Up Over Time?
On the right surface, yes — mine survived years in a moist bathroom. They are happiest on smooth, clean, dry, low-traffic surfaces, but “low-moisture only” is more of a guideline than a hard rule; my bathroom set proved they can take more than the internet gives them credit for. The keys are a surface that’s smooth and truly clean when you apply them, and pressing firmly so every edge is sealed down. Skip the prep and that’s when edges lift — not because the tiles are flimsy.
8 Ways to Use Peel-and-Stick Tiles (That Aren’t an IKEA Lack Table)
Here is my actual wishlist — the surfaces I keep looking at and thinking you could be tile.
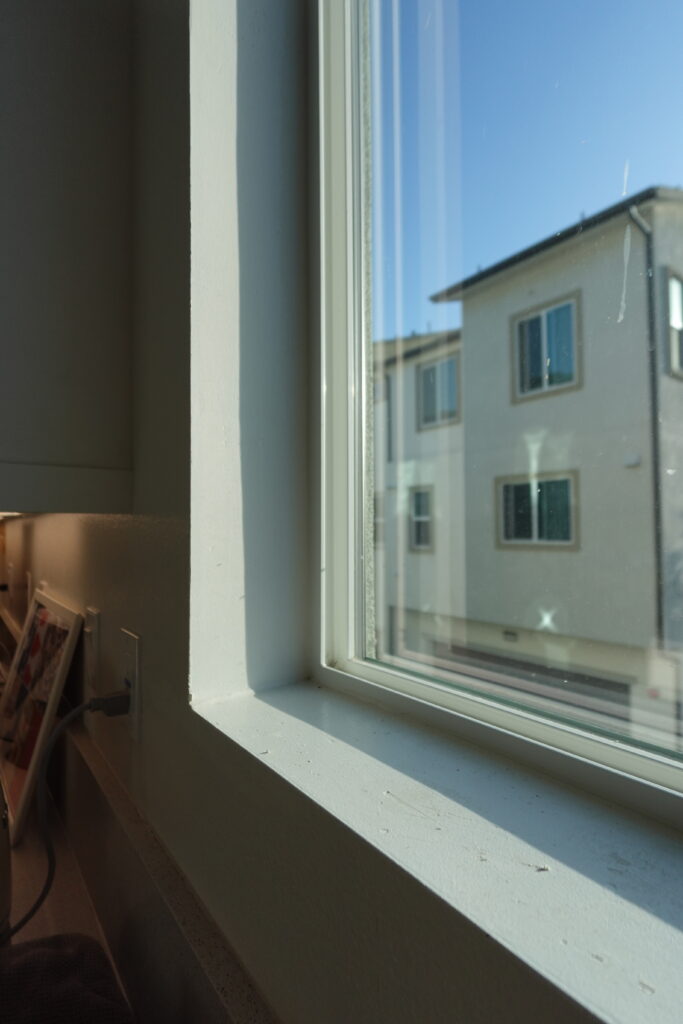
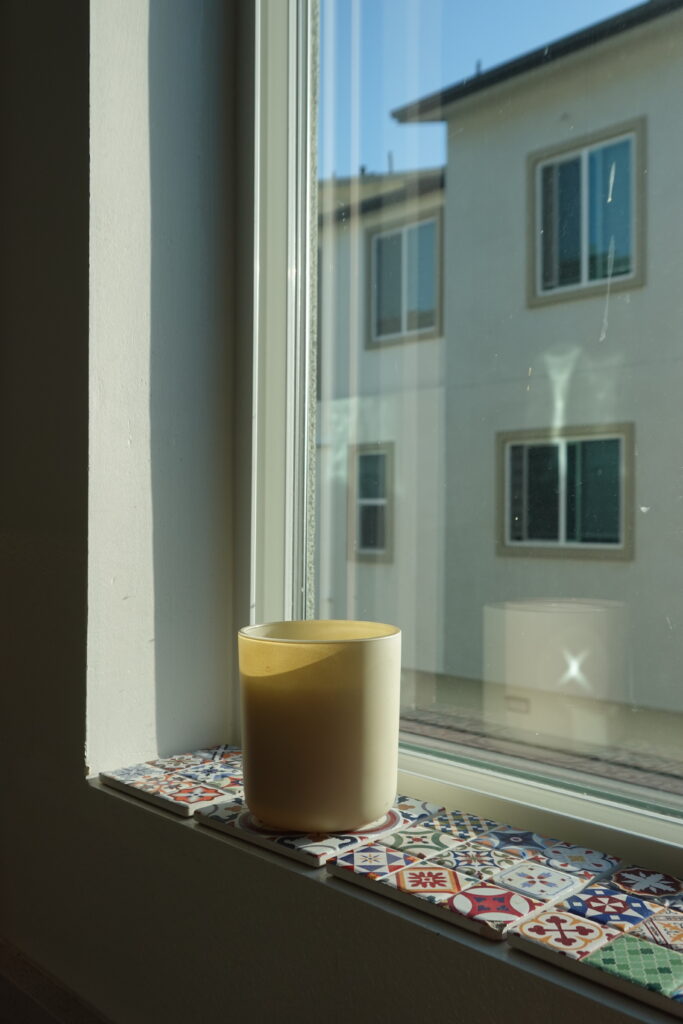
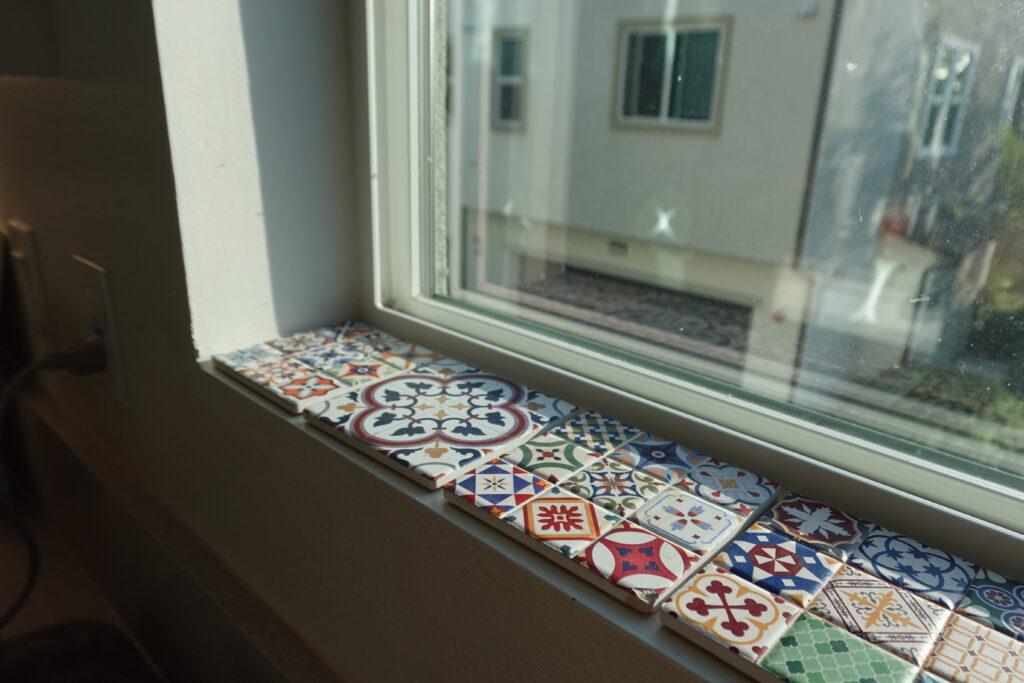
- Naked windowsills — the one I want most. I have bare builder-grade sills in every room, but the two I am dying to do are the big one above my kitchen sink and the ones in my bedroom. I have wanted to really tile them for ages but I’ve never tiled before, and that felt like a commitment. Peel-and-stick is the low-stakes trial — if I love the look, I’ll know before I ever pick up grout.
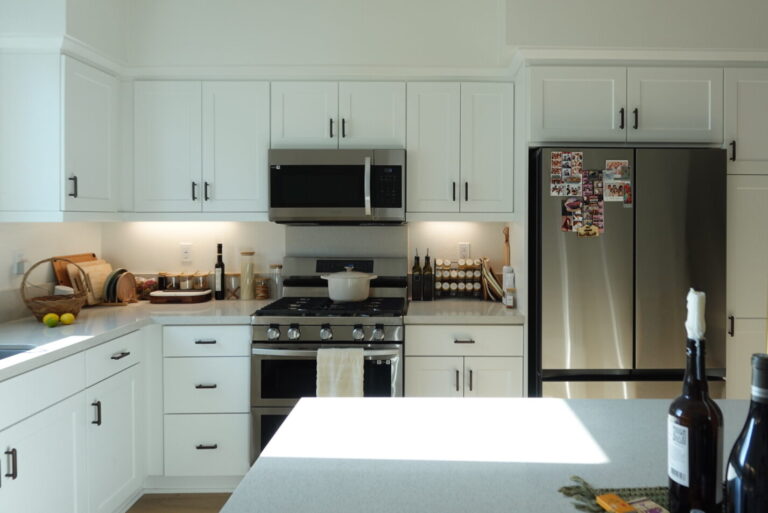
- Builder-grade backsplash — mine is the definition of boring. A peel-and-stick run behind the counter is the fastest way to give it some personality without a renovation.
- A DIY catch-all tray — tile the flat bottom of a plain wood or acrylic tray and it instantly looks like a $60 marble or mosaic one. Very high on my list.
- An IKEA nightstand refresh — okay, one IKEA piece after all, just not a Lack. Tiling the top of a plain nightstand is a small, contained project with a big payoff.
- Framed faux-tile wall art — arrange a few beautiful tiles inside a shadow box or float frame for cheap, textured art. I am genuinely intrigued by this one.
- Open shelf faces — the thin front edge of floating or open shelves. A little detail nobody expects that makes a whole shelf feel finished.
- Plant stand tops — the flat top of a plant stand or riser, so your pots sit on something pretty (and water-friendly).
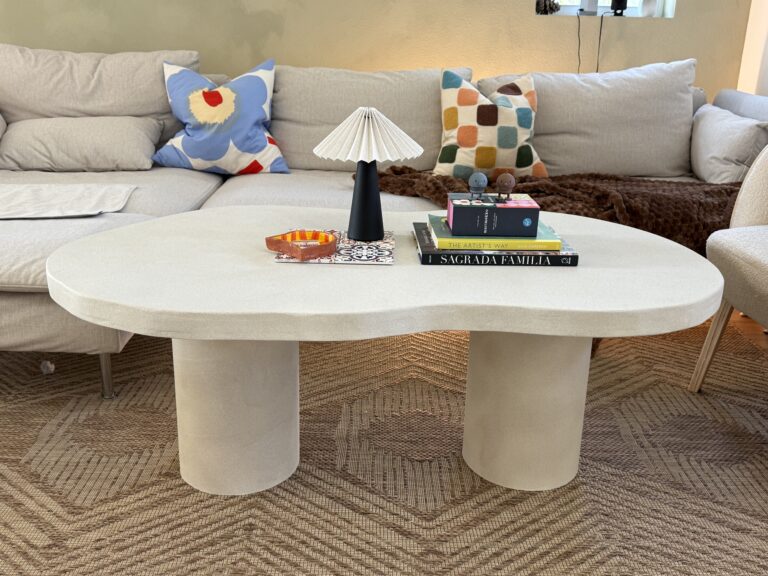
- A coffee table top — same energy as the Lack trend but on a piece you already own and use every day.
One I’m skipping: stair risers. They look incredible in other people’s homes, but mine are carpeted, so that’s a no from me. Match the idea to the space you actually have.
What Peel-and-Stick Tile Styles Look Best?
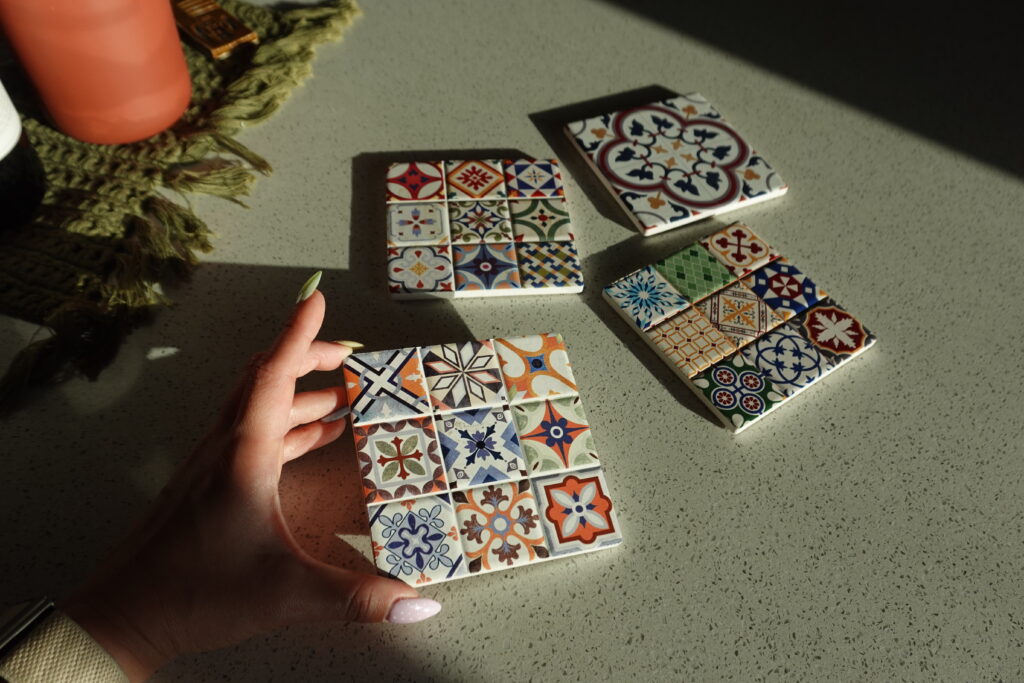
My picks: zellige-look, mosaic, and Spanish-style tiles. The glossy, slightly-irregular zellige look reads as expensive and handmade, mosaic gives you pattern and movement in a small space, and Spanish tiles have that warm, painted character I fell in love with traveling through Spain last year. If you have your own travel photos of tiles you loved, that’s honestly the best styling inspiration there is — and great Pinterest material. Match the tile’s scale to the surface: smaller mosaic on trays and sills, bolder patterns on a backsplash or tabletop.
Are Peel-and-Stick Tiles Beginner-Friendly?
Extremely — if you can apply a sticker, you can do this. That is not a figure of speech; peel, align, press. No mortar, no grout float, no wet saw. Most tiles cut with sharp scissors or a utility knife against a metal ruler, so you can trim to fit an outlet or a corner with zero special tools. This is exactly why it’s such a good trial run before committing to real tile — you get the look and learn whether you love it, with none of the permanence.
Do Peel-and-Stick Tiles Damage the Surface Underneath?
They can, so treat furniture and walls with a little care. “Peel and stick” describes how they go on, not how easily they come off — the adhesive is strong on purpose. On furniture and cured painted walls they usually remove cleanly if you warm the adhesive with a hairdryer first and peel slowly at a low angle. Avoid raw wood, unsealed surfaces, and paint that’s less than a few weeks old. If you rent, do a small test patch in a hidden spot first and check how it comes off before you commit to a whole surface.
Roughly What Each Idea Costs
The whole appeal is how little you risk to try one. Ballpark, per project:
| Idea | Roughly What You’d Buy | Est. Cost |
|---|---|---|
| Windowsill (per sill) | ~1 pack of tiles | [$10–15] |
| DIY tray | Plain tray + a few tiles | [$15–25] |
| Nightstand top | 1 pack | [$12–18] |
| Framed tile art | Frame + a few statement tiles | [$15–25] |
| Backsplash (small run) | 2–3 packs | [$25–40] |
| A pack of tiles to just start playing | [~$12] |
Prices are placeholders — I’ll update with the exact tiles once I order.
Which One I’m Doing First
The kitchen windowsill above my sink, then the bedroom ones. They’re the surfaces I look at most, they’re bare and a little sad, and a windowsill is the perfect low-commitment first project to find out if I love the tiled look before I ever attempt the real thing. When it’s done, I’ll be back with the honest before-and-after — including whether it held up to a very splashy kitchen sink.
If you’re like me — you love the tiles, you don’t have a Lack table, and you just want to play — pick one small surface you already own and start there. That’s the whole beauty of this trend: the buy-in is tiny and the payoff is real.
Shop This Post
- DAGOU Peel & Stick Zellige-Look Tiles — $3.29/sq ft
- Vsmile Peel & Stick Mosaic Tiles — $5.31/sq ft
- HomeRoots 4″ Vinyl Spanish Peel & Stick Mosaic Tiles — $16.66/sq ft
- Mediterranean 8″ Blue Mosaic Peel & Stick Tiles (Lowe’s) — $8.90/sq ft
- VICCI 6″ Peel & Stick Mosaic Tiles — $5.99/sq ft