My Pink Limewash Wall: A Desert Rose Office Accent Wall in One Afternoon (and the Mistake I’d Fix)
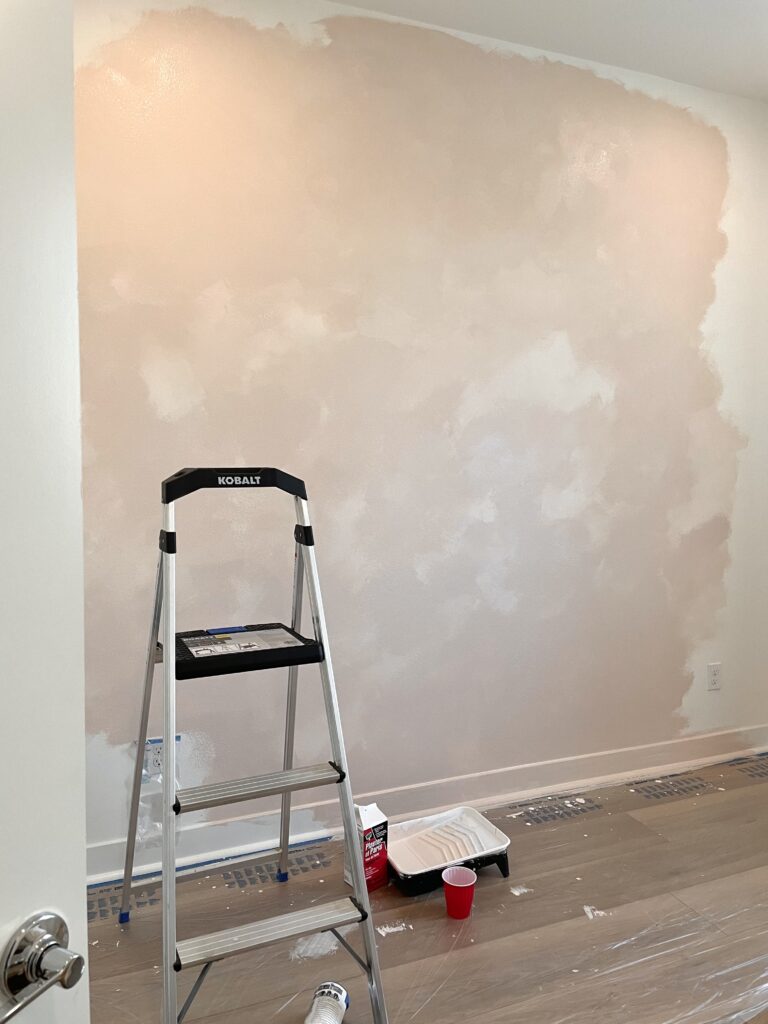
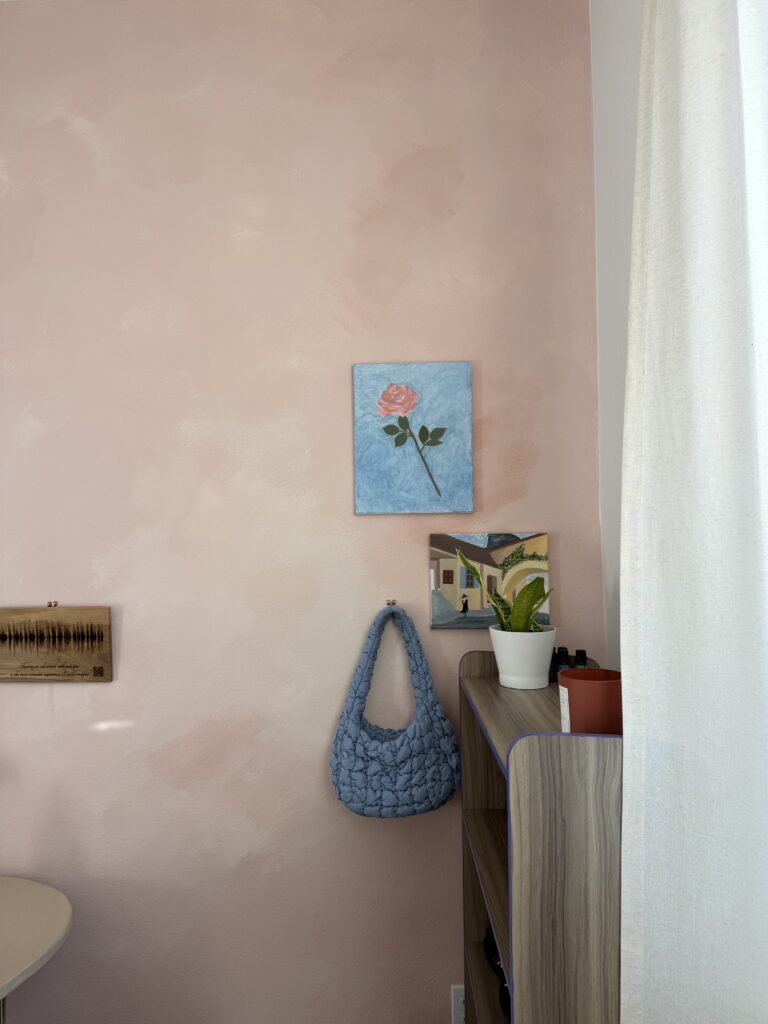
My office started out as a plain, builder-grade white box. It’s about 11 by 11 feet and faces west, so the afternoon light is great, but it had zero personality. This is the room where I do my creative work, so it deserved better than four blank walls. The first thing I did to give it some character was a pink limewash wall in a dusty desert rose. Since it was my second run at this faux limewash method, I painted it in one afternoon with music on and a boba in hand.
If you read my sage green limewash wall post, you already know the recipe: regular paint mixed with plaster, brushed on in loose cross-hatch strokes. The second time went much faster because I knew what I was doing. Even so, I made one mistake that I look at every single day. I’ll show you both: how I did it, and how to skip the part I got wrong.
Shop This Post
*This post contains affiliate links. I may earn a small commission at no extra cost to you.

Why Desert Rose for a Creative Office
I didn’t want another neutral in here. This office is my creative outlet, the place where I make things, so I wanted color, texture, and a little fun. I also wanted depth, the kind a flat painted wall just doesn’t have.
So I skipped the safe choices and went pink. The vibe I had in mind was Joshua Tree: sun-baked, dusty, warm desert rose. My taste has shifted since then, and our trip to Europe pulled me toward softer, warmer, more Mediterranean spaces. But this wall came first. It was the first step in making this room feel like mine.
Can You Make a Pink Limewash Wall With Regular Paint?
Yes. Mix regular flat interior paint with Plaster of Paris and water, then brush it on in loose, overlapping cross-hatch strokes. It’s the exact method I used on my living room wall, and the color doesn’t change anything about the technique. Real limewash in a pink shade costs a lot more, and the faux version gives you the same soft, chalky, cloudy look for a fraction of the price.
The one pink-specific wrinkle: the desert rose paint I already had, Benjamin Moore Desert Rose (2094-50), was too dark for this room on its own. So I lightened it with white paint I had on hand. That decision turned out to matter more than anything else in this project. More on that in a minute.
How I Made My Pink Limewash Wall in One Afternoon
I used exactly the same products and method as my sage wall. The full step-by-step, including brush options, is in the sage green post, but here’s the short version:
- Prep. Tape off the trim, corners, ceiling line, and floor.
- Mix. Stir the paint together with Plaster of Paris and water.
- Brush loose. Use a wide, rough brush kept on the drier side, and paint in random X strokes, one small section at a time.
- Build clouds. Make one soft cloud shape, move over, make the next, then cross back over where they meet so the edges melt together while they’re still wet.
- Second coat. Do it all again. The second coat is what pulls everything into one soft, cloudy wall.
The whole thing took me about three hours from prep to finish, with two coats. The sage wall took six. Part of that is because the office wall is smaller than the living room wall. The other part is that I didn’t have to guess what was happening this time, because I’d already seen how the mix goes on and how it dries. I didn’t even need my husband’s help. I just put on music, grabbed a boba, and started painting.
Why Does My Limewash Wall Look Blotchy?
Usually because the color itself isn’t consistent from one batch to the next, and that’s exactly what happened to mine.

Here’s my confession. Because the desert rose was too dark, I mixed it with white as I went, and my ratio was all over the place. Sometimes it was one-to-one, sometimes two-to-one. I didn’t premix one big batch first. I was impatient, I only wanted to spend three hours from prep to finish, and I thought, “I got this.”
I did not, in fact, have this. Some spots came out noticeably darker and richer than others. That isn’t the soft cloudy variation limewash is known for. It reads as patches of slightly different pinks.
Here’s the difference I learned the hard way. On my sage wall, I varied the mix on purpose, but what changed was the amount of plaster and water, so the same green went on more sheer in some spots and more solid in others. Two coats blended all of that together beautifully. On this pink limewash wall, I changed the color itself. Two coats can blend sheer and solid. They can’t blend two different pinks.
How Do You Hide Dark Patches on a Limewash Wall?
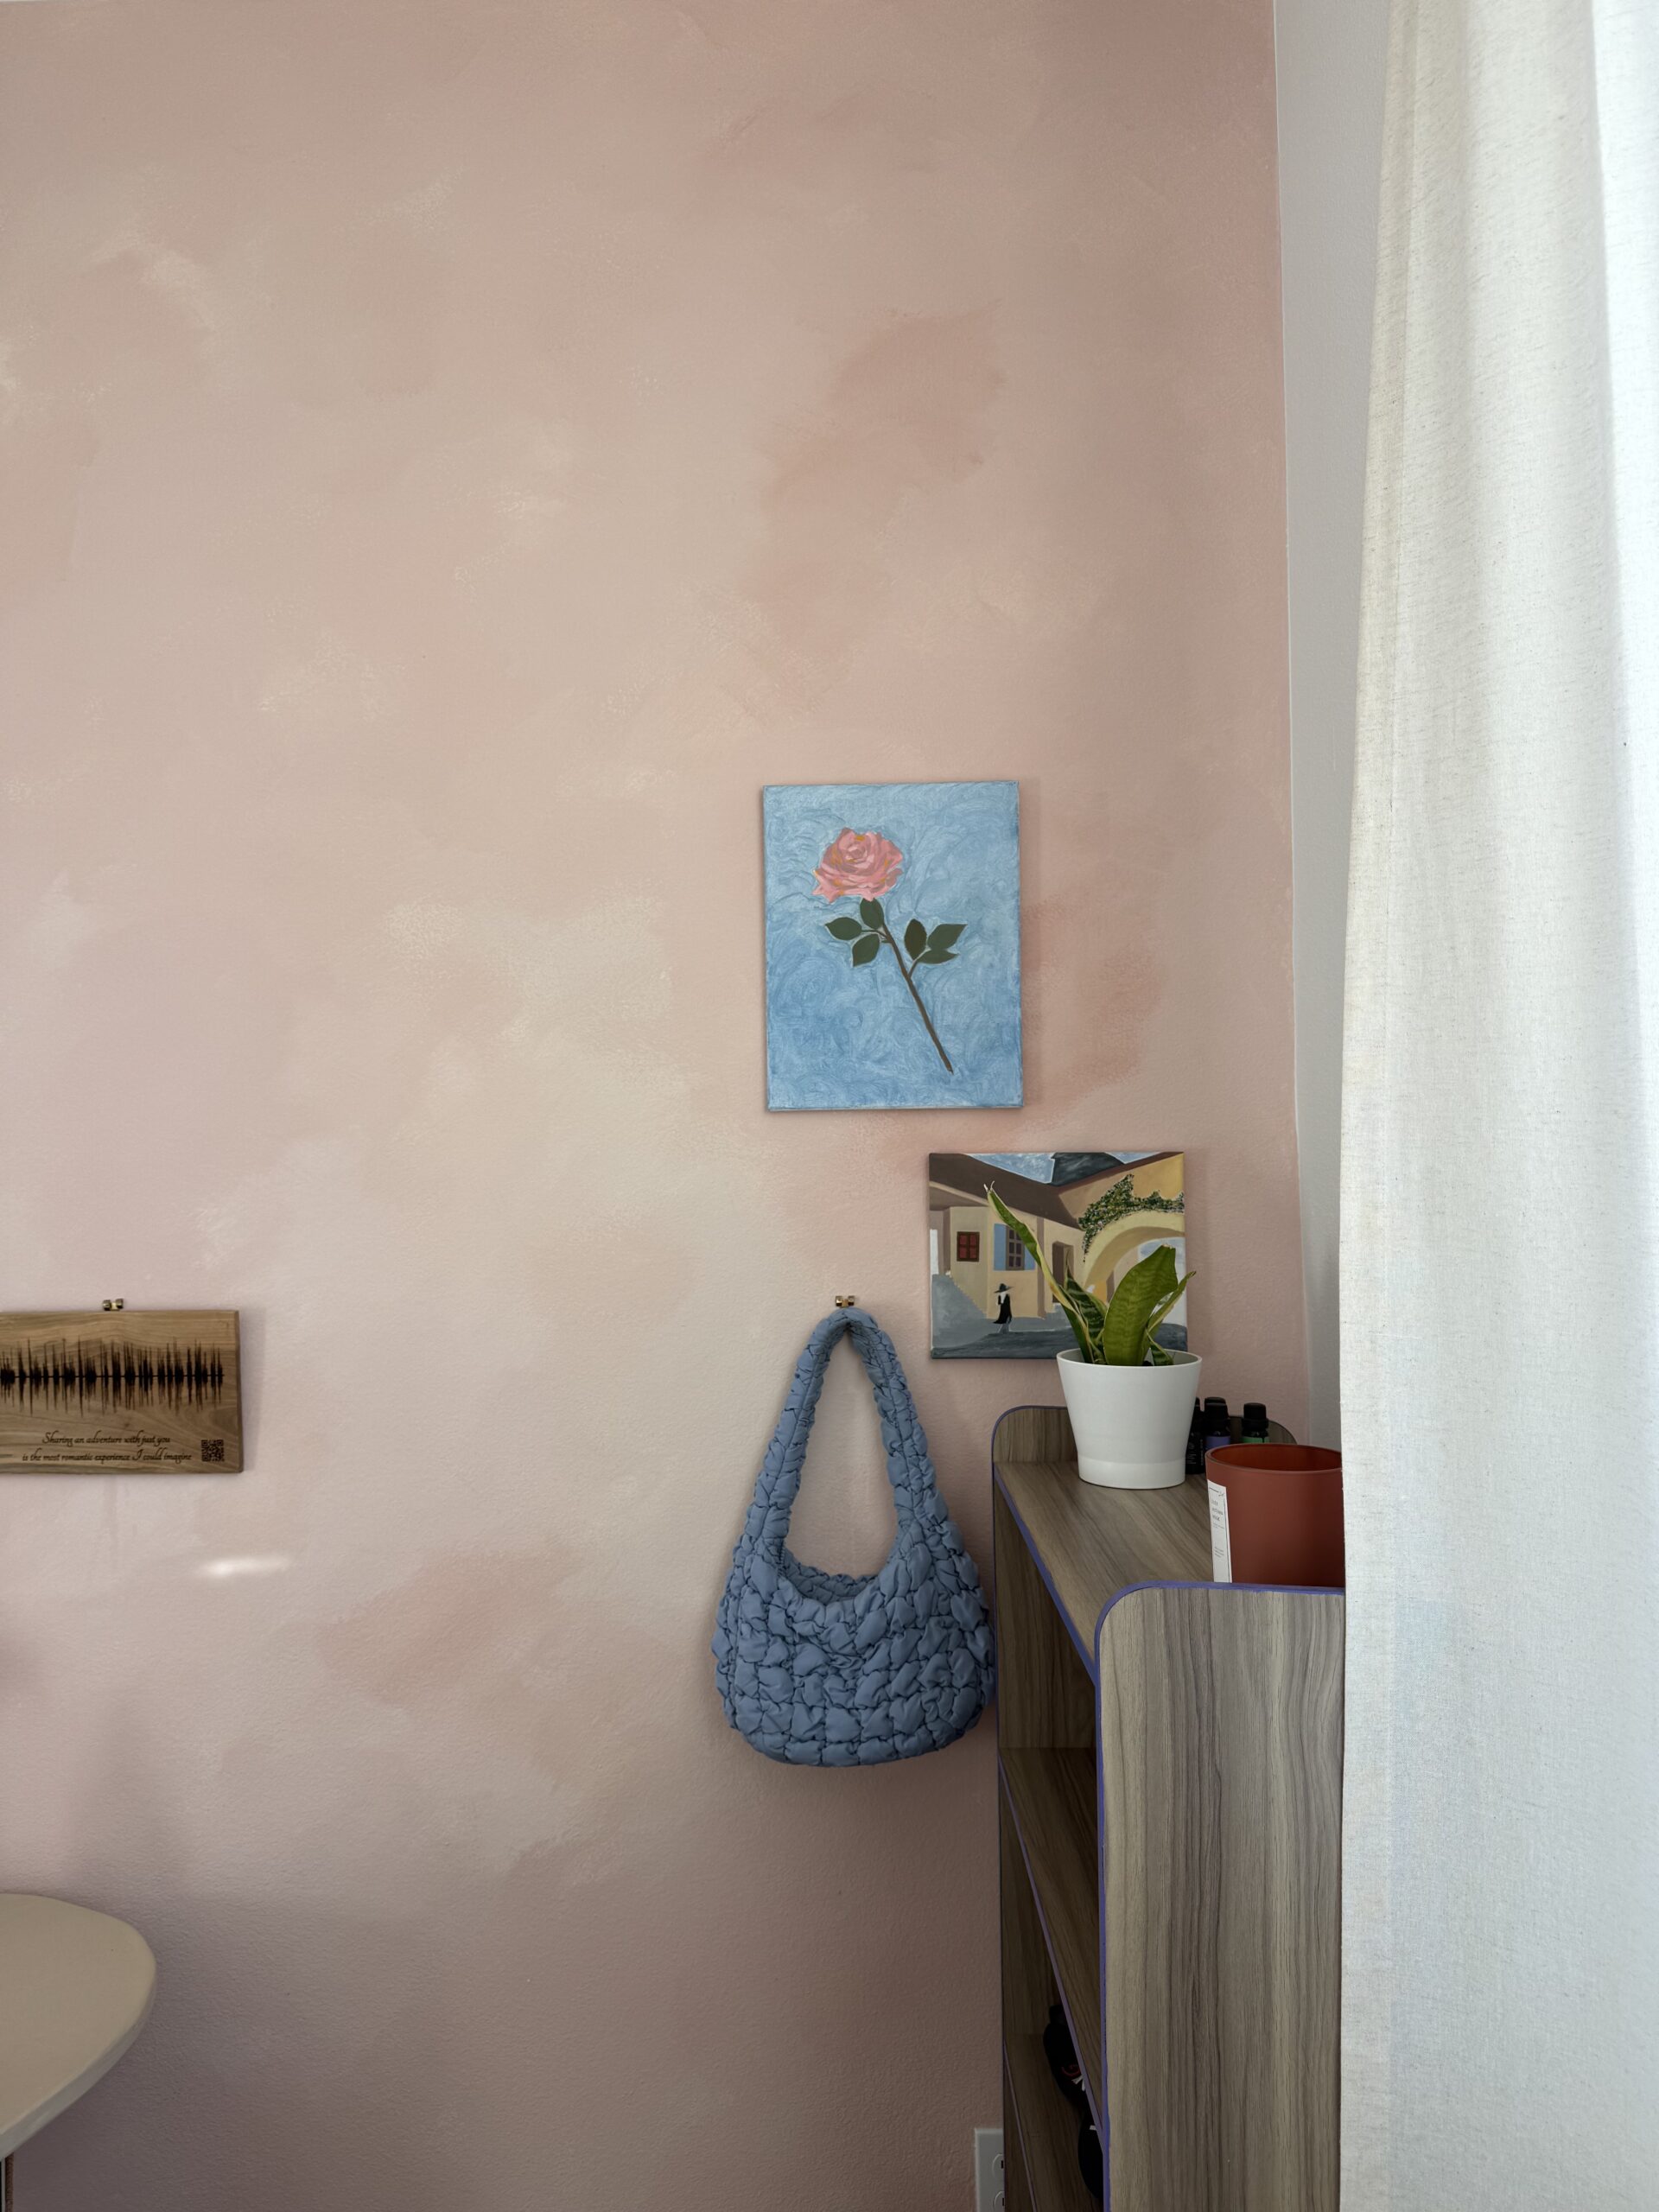
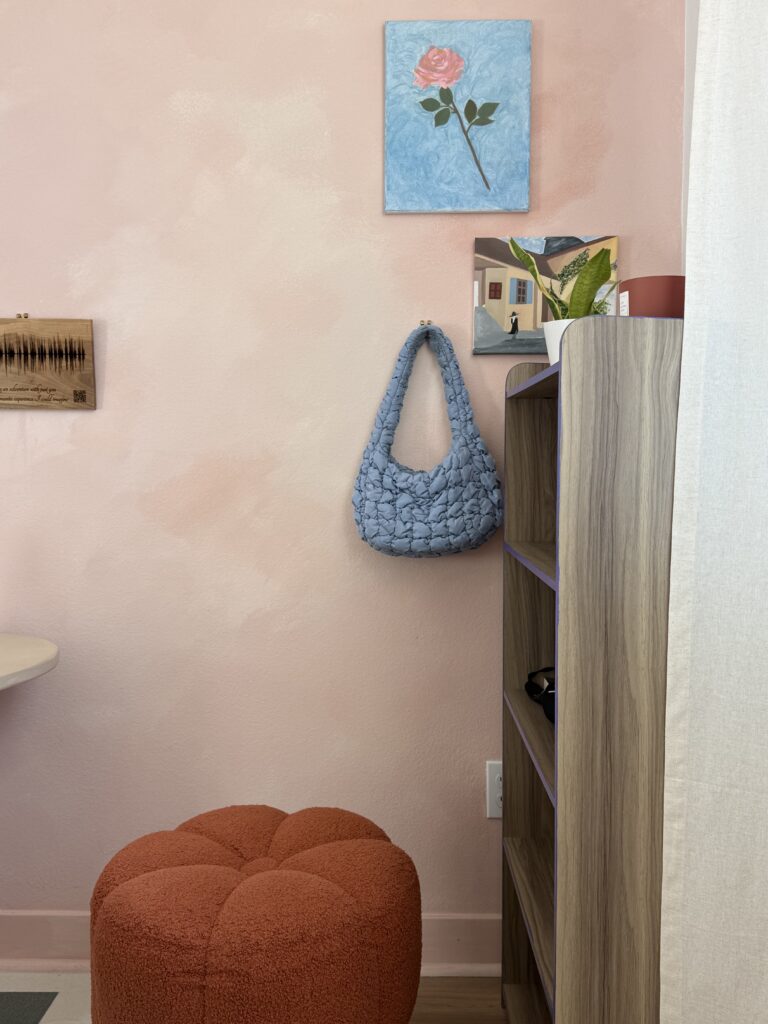
Hang art over them. My darker patches aren’t huge, so I covered them with some of my own artwork. They’re not masterpieces, but they’re handy.
The star of that area is a painting I did a couple of years ago that has a pink rose in it. I dug it out, held it up against the wall, and it matched. What started as a fix now feels like the wall was planned around it.
If yours turns out blotchy, a framed piece or a small gallery wall is the easiest fix there is. If you’d rather not have a problem to solve later, keep reading.
How It Feels Now
The room finally feels like me. It’s warm, fun, and feminine, with texture instead of flat white. From across the room, it looks great, and some people might never notice a thing. Up close, I know exactly where the imperfect spots are.
And I’m fine with that. It’s a real wall in a real home, painted in a real afternoon. It might make me want to redo it in a couple of years (hopefully not a couple of months), but for now, this is the room I get to create in, and I love walking into it.

What I’d Tell You Before You Paint a Faux Limewash Wall
- Premix one big batch in one consistent color before you start. This is the big one. If you’re lightening or tinting your paint, pick a ratio, measure it, and mix enough for the whole wall and both coats before you touch the brush.
- Let the water and plaster create the light and dark. The layering and watering down will give you plenty of depth on their own. You don’t need different shades of your color to get texture. That’s how you get patches.
- Give yourself a generous amount of time. Three hours was enough to finish, but not enough to do it right. Don’t be like me, staring at the darker spots every day and second-guessing your choices.
Cost Breakdown
| Item | Cost |
|---|---|
| Benjamin Moore Desert Rose 2094-50 | $40 |
| White interior paint for lightening (already had) | $0 |
| Plaster of Paris, 4 lb. White Dry Mix | $10 |
| Brush (the same old masonry brush from the sage wall) | $0 |
| ScotchBlue Pre-Taped Painter’s Plastic Sheeting + painter’s tape | $14 |
| My total | $64 |
Shop This Post
- Benjamin Moore Desert Rose (2094-50): [TK price], the dusty pink I lightened with white for this wall
- Plaster of Paris, 4 lb. White Dry Mix: $10, what you mix in for the limewash texture
- Limewash brush, budget pick: $11, a basic masonry-style brush that works great for this loose technique
- Limewash brush, premium pick: $47, softer bristles and easier blending
- ScotchBlue Pre-Taped Painter’s Plastic Sheeting: $10, tapes and covers the floor and edges in one step
- Painter’s tape: $4, for the corners and trim