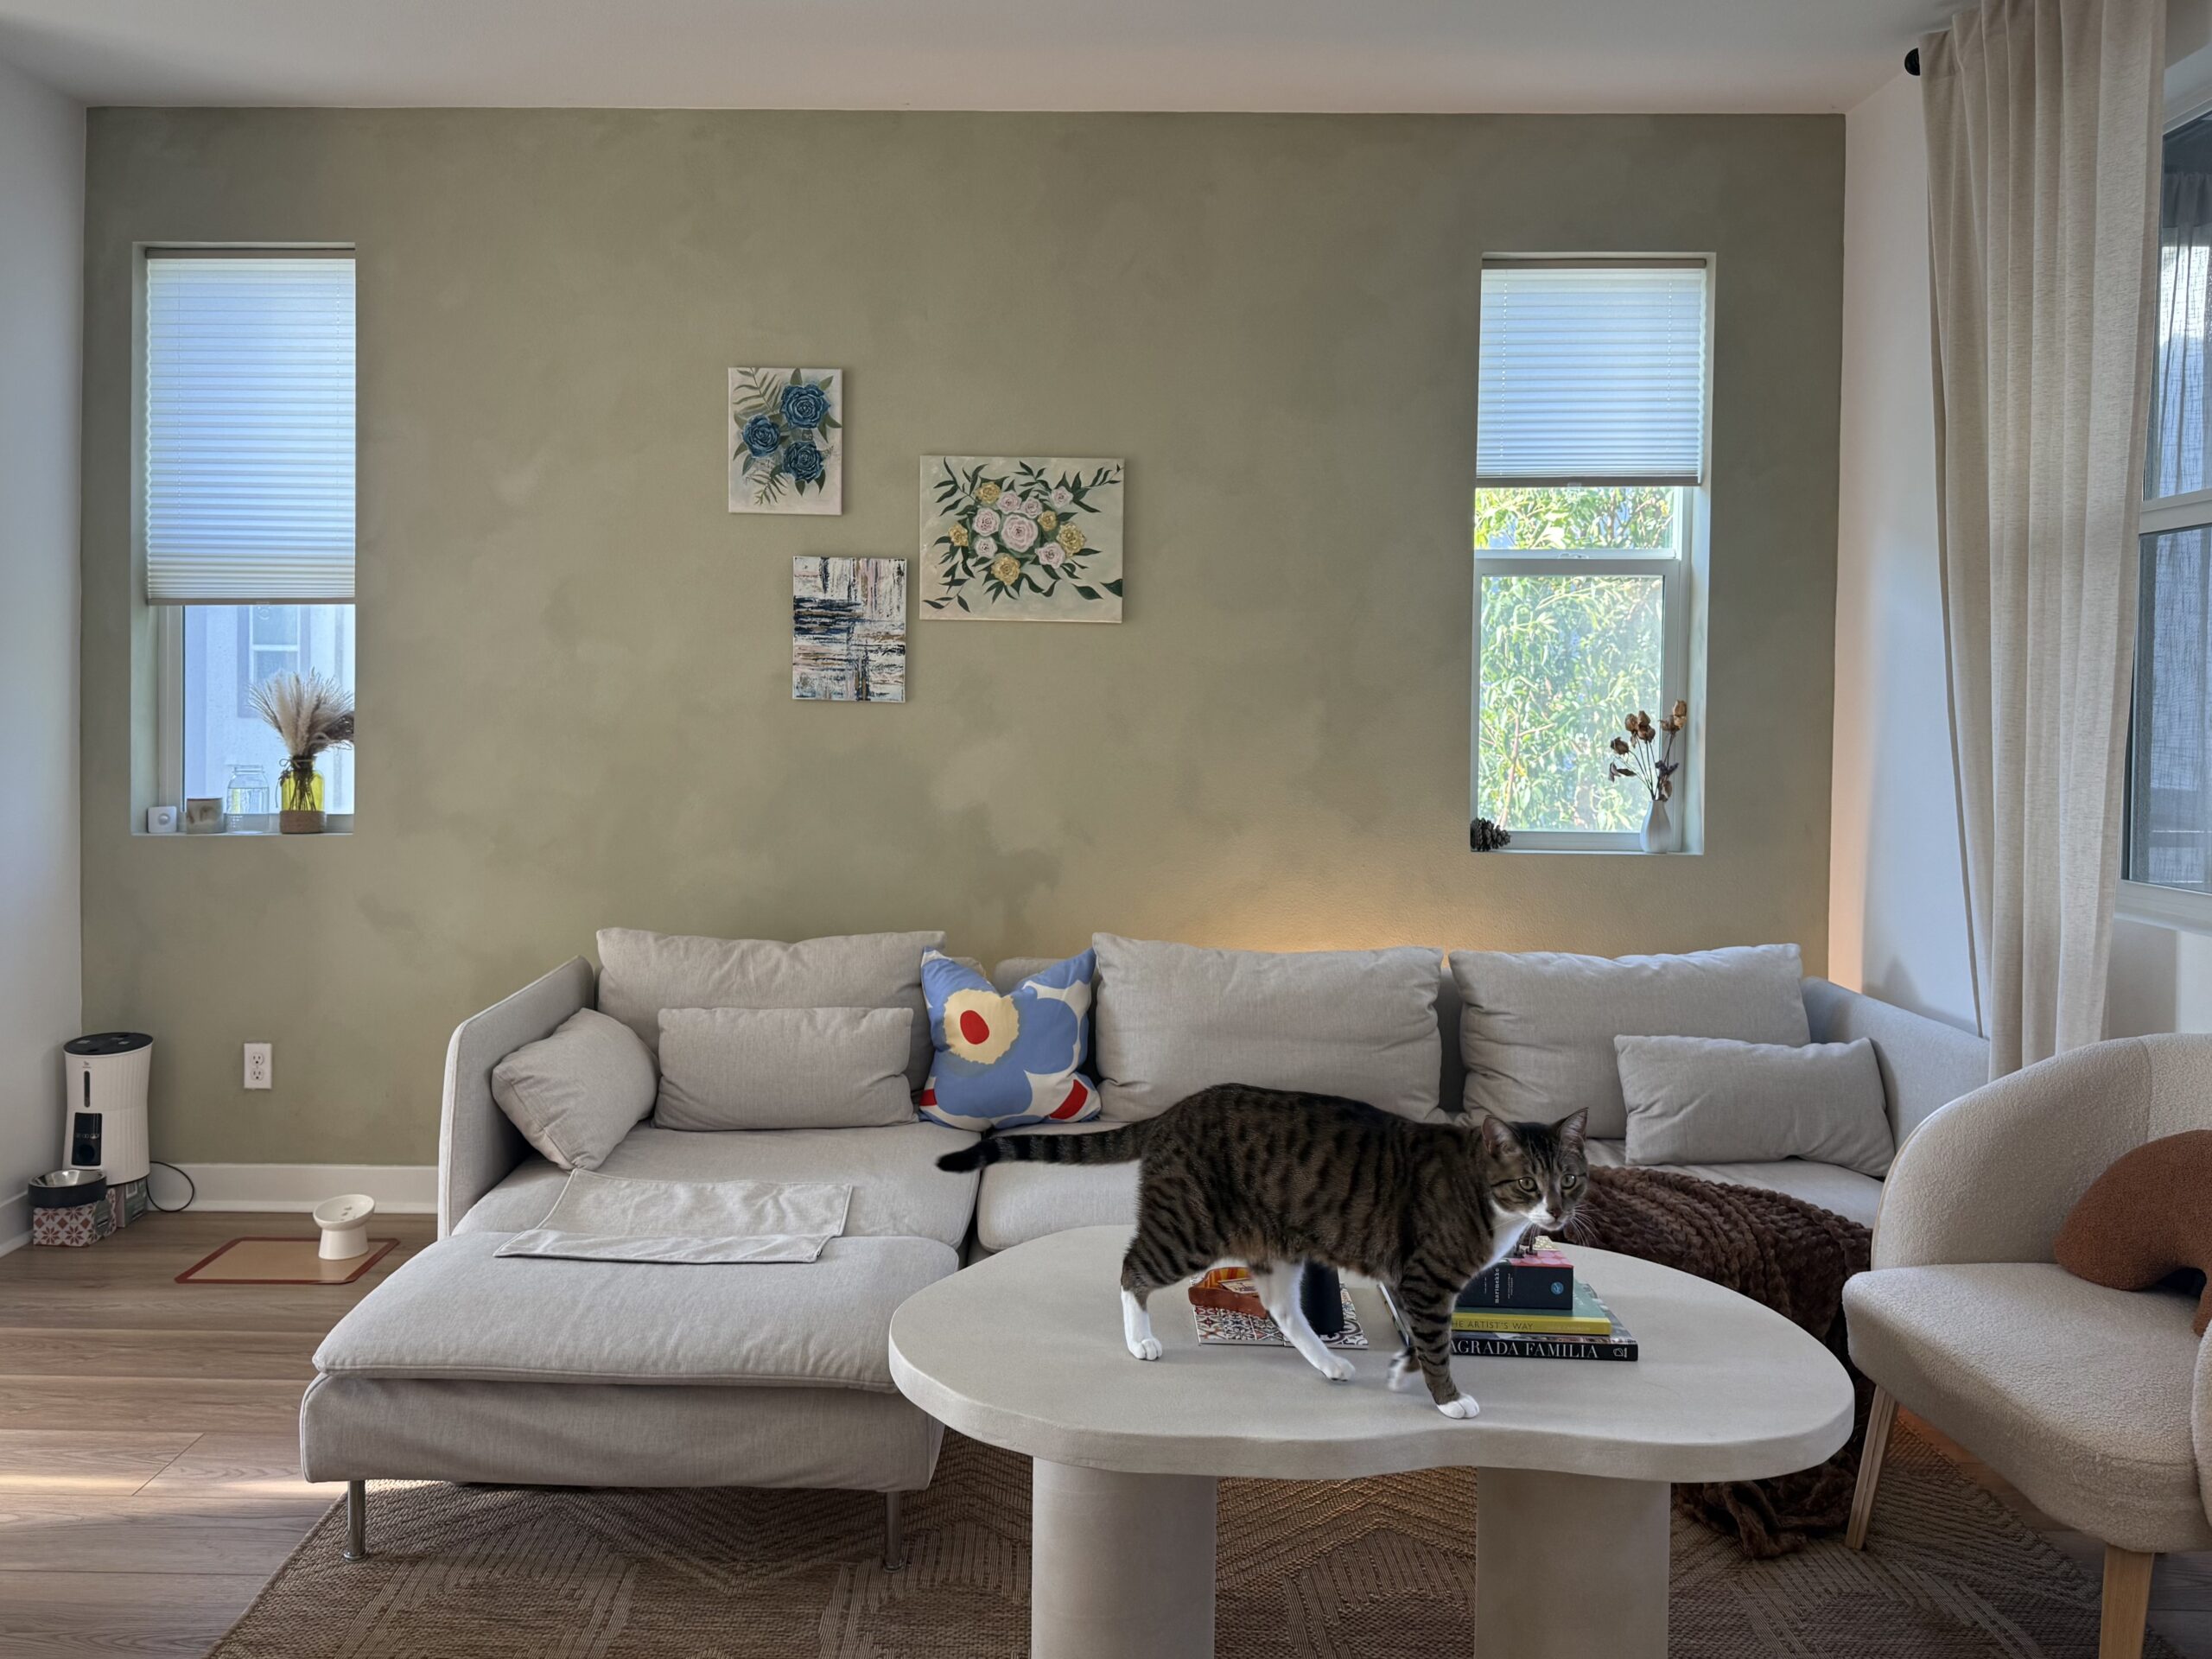
I Made a DIY Limewash Sage Wall With Paint & Plaster for $54 — Here’s How It Looks 3 Years Later
When we moved into our newly built townhouse, every single wall was the same flat builder white. Fine, technically. But nothing about it felt like us — and the living room especially needed something to ground it and warm it up. I wanted one accent wall that did all of that quietly.
Here’s the part I’ll be straight with you about from the top: I did not use real limewash paint. That stuff is gorgeous and also $60–$90 a gallon. I faked the whole look with regular interior paint mixed with plaster, for $54 total including tapes and brush— and three years later, this DIY limewash wall still stops friends in their tracks the moment they walk in. Let me show you exactly how.
Shop This Post
*This post contains affiliate links. I may earn a small commission at no extra cost to you.

Why Sage — and Why Just One Wall
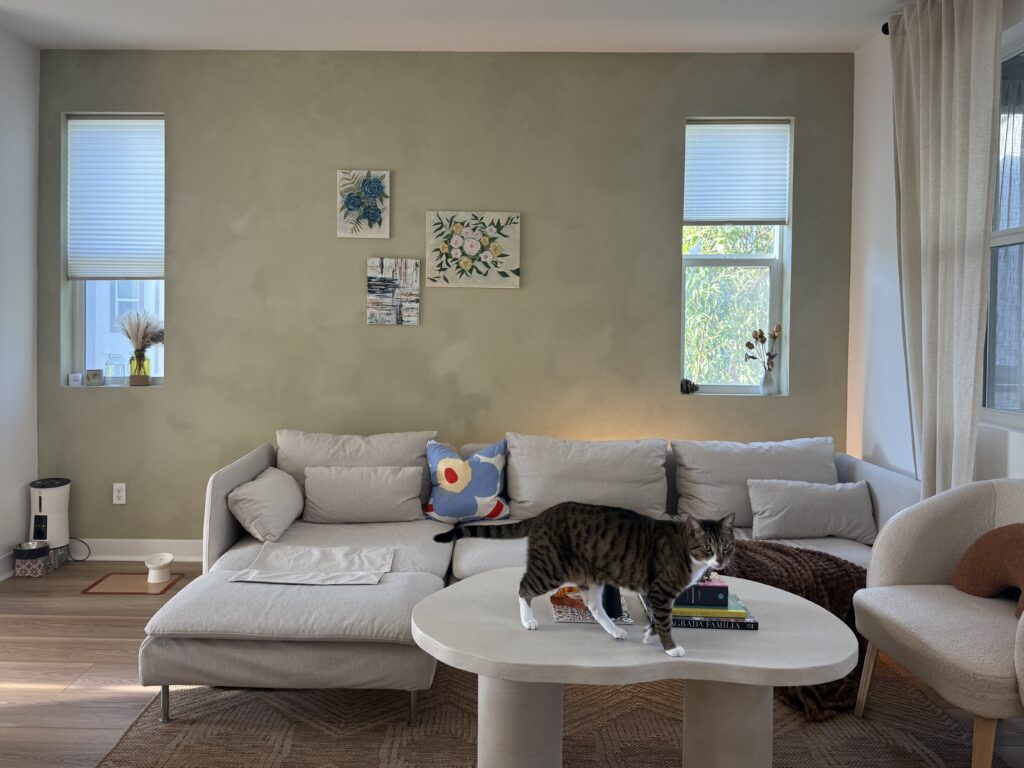
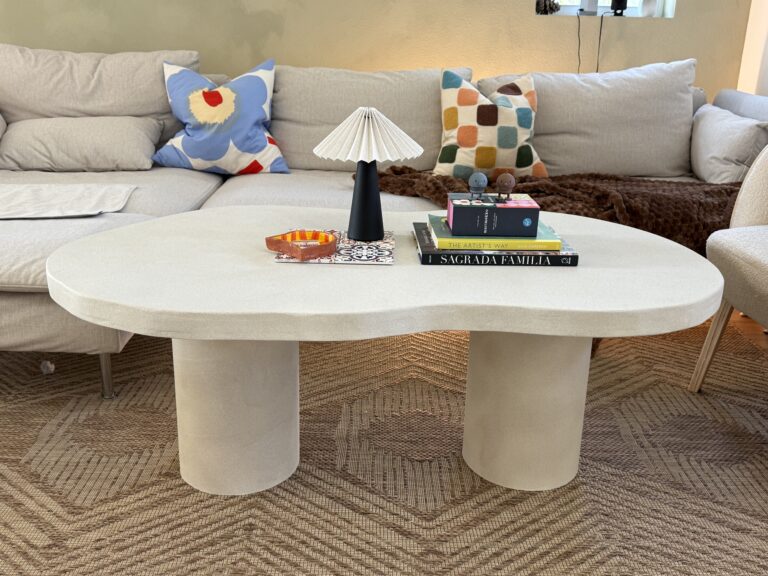
Our furniture is all warm neutrals: brown, wood tones, cream. I bring in color through the fun stuff — wall art, throw blankets, pillows, seat cushions. So I didn’t want the wall itself fighting for the spotlight. I wanted a background color, but one with a little more personality than another cream or beige.
Sage green was the answer. It’s calm and grounding, it plays beautifully with a neutral palette, and it’s just uncommon enough to feel intentional. It doesn’t take over the room — it holds it together, and still manages to shine on its own. Exactly the job I needed one wall to do.
What Is a Faux Limewash — and How Is It Different From Real Limewash?
Real limewash is a mineral paint made from slaked lime; a faux limewash recreates that soft, cloudy, layered look using regular matte paint mixed with plaster (or a glaze) and applied in loose, overlapping strokes. The finished effect is remarkably close — that chalky, dimensional, “old plaster wall” depth — but you’re using materials from any hardware store at a fraction of the price. Real limewash develops its texture from the lime itself; a faux version gets its texture from how you mix and brush it. For an interior accent wall, honestly? You’d be hard-pressed to tell mine from the real thing.
My $54 Recipe: Paint + Plaster + Water
Because the wall was brand new and freshly painted white by the builder, I didn’t need primer or a base coat — I just went straight over it. My “limewash” was Behr Rejuvenation, flat finish (1 gallon, $30) mixed with Plaster of Paris — 4 lb. White Dry Mix ($10) and water.
Quick note on finish: I used flat, which is what gives the wall that soft, chalky, no-shine look real limewash has. If you want a little more sheen and easier wipe-downs, the same color in semi-gloss (also $30) is also an option — just know it’ll read a touch less “old plaster” and a touch more “painted wall.”
The trick that made it look real: I intentionally mixed slightly different ratios as I went, so the opacity varied from batch to batch — some patches more sheer, some more solid. That’s what gives limewash its signature depth. Because I overlapped everything and did two coats, those different shades blended seamlessly instead of looking patchy, while still keeping that gorgeous variation you can see up close.
How Do You Get the Limewash Look With Regular Paint?
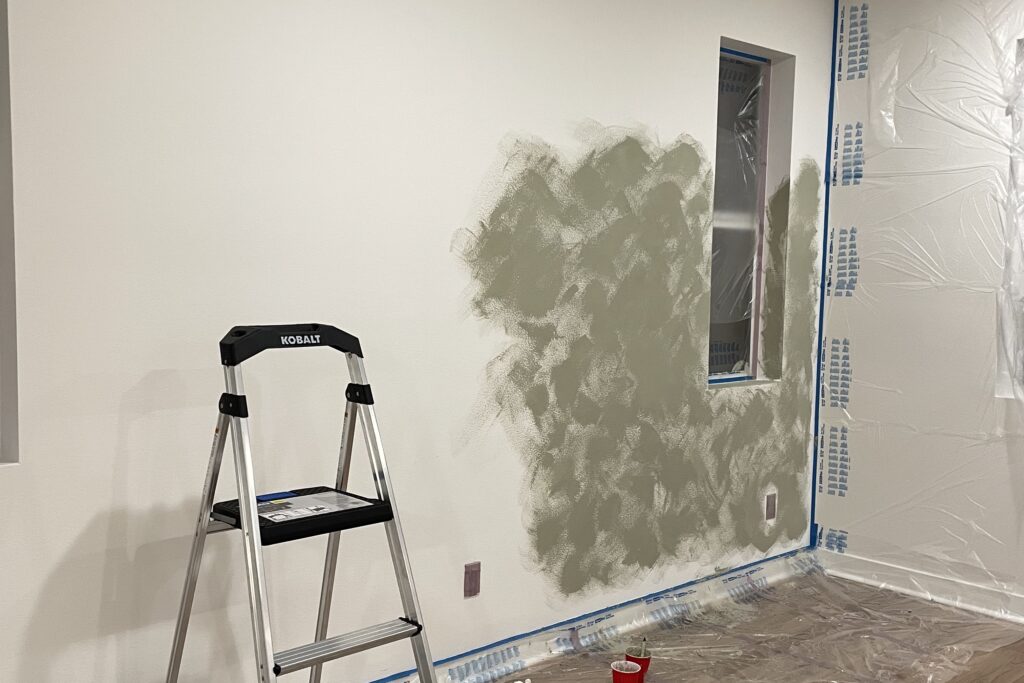
Use a wide, rough brush and paint in loose, overlapping “X” cross-hatch strokes — building soft cloud shapes rather than smooth, even coverage. This is the whole secret, so here’s how I did it:
- Grab a wide, coarse brush (not a smooth wall brush) and keep it on the drier side — don’t overload it with paint.
- Work in one small section at a time, moving the brush in a loose X / cross-hatch motion — random and organic, never neat rows. Perfect symmetry kills the effect.
- Think in cloud shapes: build a soft cloud in one spot, then move over and build the next, then cross back over where they meet so the edges melt together.
- Vary your mix ratio as you go for that shade-to-shade variation, and blend any hard lines while the paint is still wet.
- Then do it all again for coat two — the second layer is what pulls it all together into one soft, cloudy, cohesive wall.
Up and down the ladder, music on, cross-hatching clouds for hours. It’s genuinely meditative once you find the rhythm.
One honest confession on the brush: I used an old masonry brush I already had lying around, because I didn’t want to buy anything special for a “let’s see if this works” project. It got the job done, and honestly, I’ve since seen a lot of other people get great results with a basic brush too — for this loose, textured technique, it really doesn’t need to be fancy.
So here’s how I’d actually put it: grab a budget masonry-style brush if you want to try this without spending much — it’ll absolutely get you there. If you want the nicer experience (softer bristles, easier blending, less shedding), a dedicated limewash brush is a genuinely worthwhile upgrade, especially if you’re doing more than one wall. Neither one is the “wrong” choice — it’s a budget-vs-nice-to-have decision, not a must-have.
The Actual Process (6 Hours, Very Sore Shoulders)
I’ll be honest about the time, because “one afternoon” projects are often longer than people admit. Start to finish this was about 6 hours for a 10′ x 14′ wall:
- ~1 hour prep — taping off with ScotchBlue Pre-Taped Painter’s Plastic Sheeting for the floor and big edges, plus a roll of regular painter’s tape for the trickier corners and trim.
- ~2 hours — first coat.
- ~1 hour — dry time.
- ~2 hours — second coat.
My shoulders were wrecked for two days afterward — all that overhead cross-hatching and ladder climbing. But I put on music and got completely lost in it. It was a rough day for my muscles and a genuinely therapeutic one for my inner child. So worth it.
My husband jumped in for a stretch too (he was mostly busy mounting our TV that day) and immediately loved that there was no pressure to paint perfectly — messy and organic is the whole point. I love that we made this wall together. It’s become our signature wall, the one friends always notice the second they walk in.
Does DIY Faux Limewash Hold Up Over Time?
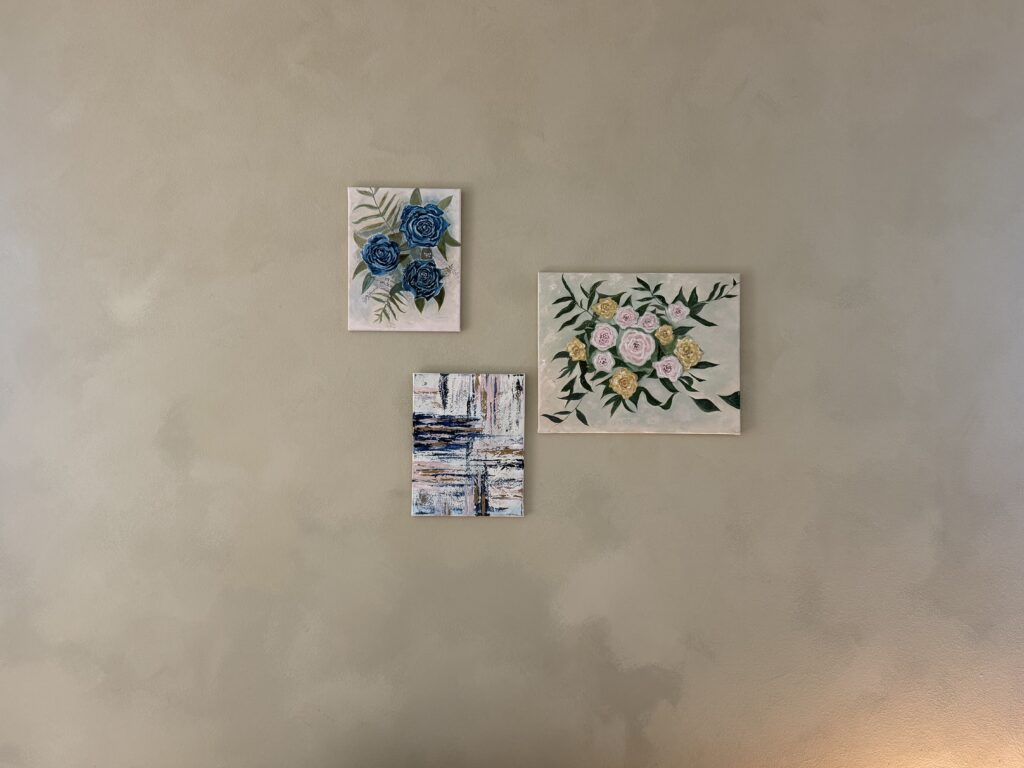
Three years in, mine looks perfect — zero chipping, zero peeling, and the shade variation is all still there. Because it’s essentially textured interior paint, it wears like good paint does: durably. I can still see the different tones of green shifting across the wall that give it that real-limewash, hand-done texture. No touch-ups, no regrets. If yours goes over a sound, clean wall like mine did, expect it to just quietly keep looking great.
How Much Does It Cost vs. Real Limewash?
Comparing materials only: my paint-and-plaster mix cost $40; a gallon of real limewash paint alone runs $60–$90. That’s the actual swap you’re making. Real limewash (brands like Portola and Romabio) runs $60–$90 a gallon and covers about 150–300 sq ft over two coats, so my ~140 sq ft wall would’ve needed close to a full gallon either way. Same wall, same coverage, $20–$50 cheaper on the material itself.
| Core Material | Cost |
|---|---|
| My mix — Behr Rejuvenation paint (1 gal) + Plaster of Paris | $30 + $10 = $40 |
| Real limewash paint alone (1 gallon) | $60–$90 |
I’m keeping the brush and tape out of this specific comparison on purpose — those are decisions you’re making either way, whether you go the real-limewash route or the faux route. Everyone needs some kind of brush and something to protect their floors and trim, regardless of which paint goes on the wall. I’ve linked what I actually used (plus a budget and a nicer brush option) down in Shop This Post if you want the full supply list.
The Full Cost Breakdown
For the full picture, here’s everything I actually spent — materials plus supplies:
| Item | Cost |
|---|---|
| Behr Rejuvenation interior paint, flat (1 gallon) | $30 |
| Plaster of Paris — 4 lb. White Dry Mix | $10 |
| ScotchBlue Pre-Taped Painter’s Plastic Sheeting | $10 |
| Painter’s tape (for corners & trim) | $4 |
| My total (I reused an old masonry brush I already had) | $54 |
If you’re starting completely from scratch and need a brush too: add $11 for the budget pick (~$65 total) or $47 for the nicer limewash-specific one (~$101 total). Either way, you’re getting a full accent wall — not just a paint swatch — for less than most people spend on a single throw pillow.
What I’d Tell You Before You Start
One real tip: mix up more paint than you think you need — enough to finish the whole wall in one go. The blending only works while the paint is still wet, so the last thing you want is to run out halfway and have to stop, run to the store, and come back to a half-dried edge you can’t blend into. I got lucky and didn’t hit this, but it’s the one thing I’d stress.
Otherwise? The bar is low and the payoff is huge. The only real downside is two days of sore muscles. I loved it so much I did it again on one of my office walls — in a moody desert rose that time. If you’ve got one boring white wall you keep walking past, this is your sign. It’s cheap, it’s forgiving, and it turns into the wall everyone comments on.
Shop This Post
- Behr Rejuvenation Interior Paint — Flat — $30, the finish I used, gives that chalky no-shine look
- Behr Rejuvenation Interior Paint — Semi-Gloss — $30, same color, a bit more sheen and easier to wipe down
- Plaster of Paris — 4 lb. White Dry Mix — $10, what you mix in for the limewash texture
- Limewash Brush — Budget Pick — $11, a basic masonry-style brush, works great for this loose technique
- Limewash Brush — Premium Pick — $47, softer bristles, easier blending, sheds less — the nicer option
- ScotchBlue Pre-Taped Painter’s Plastic Sheeting — $10, tapes and covers the floor/edges in one step
- Painter’s Tape — $4, for the corners and trim the pre-taped sheeting doesn’t reach