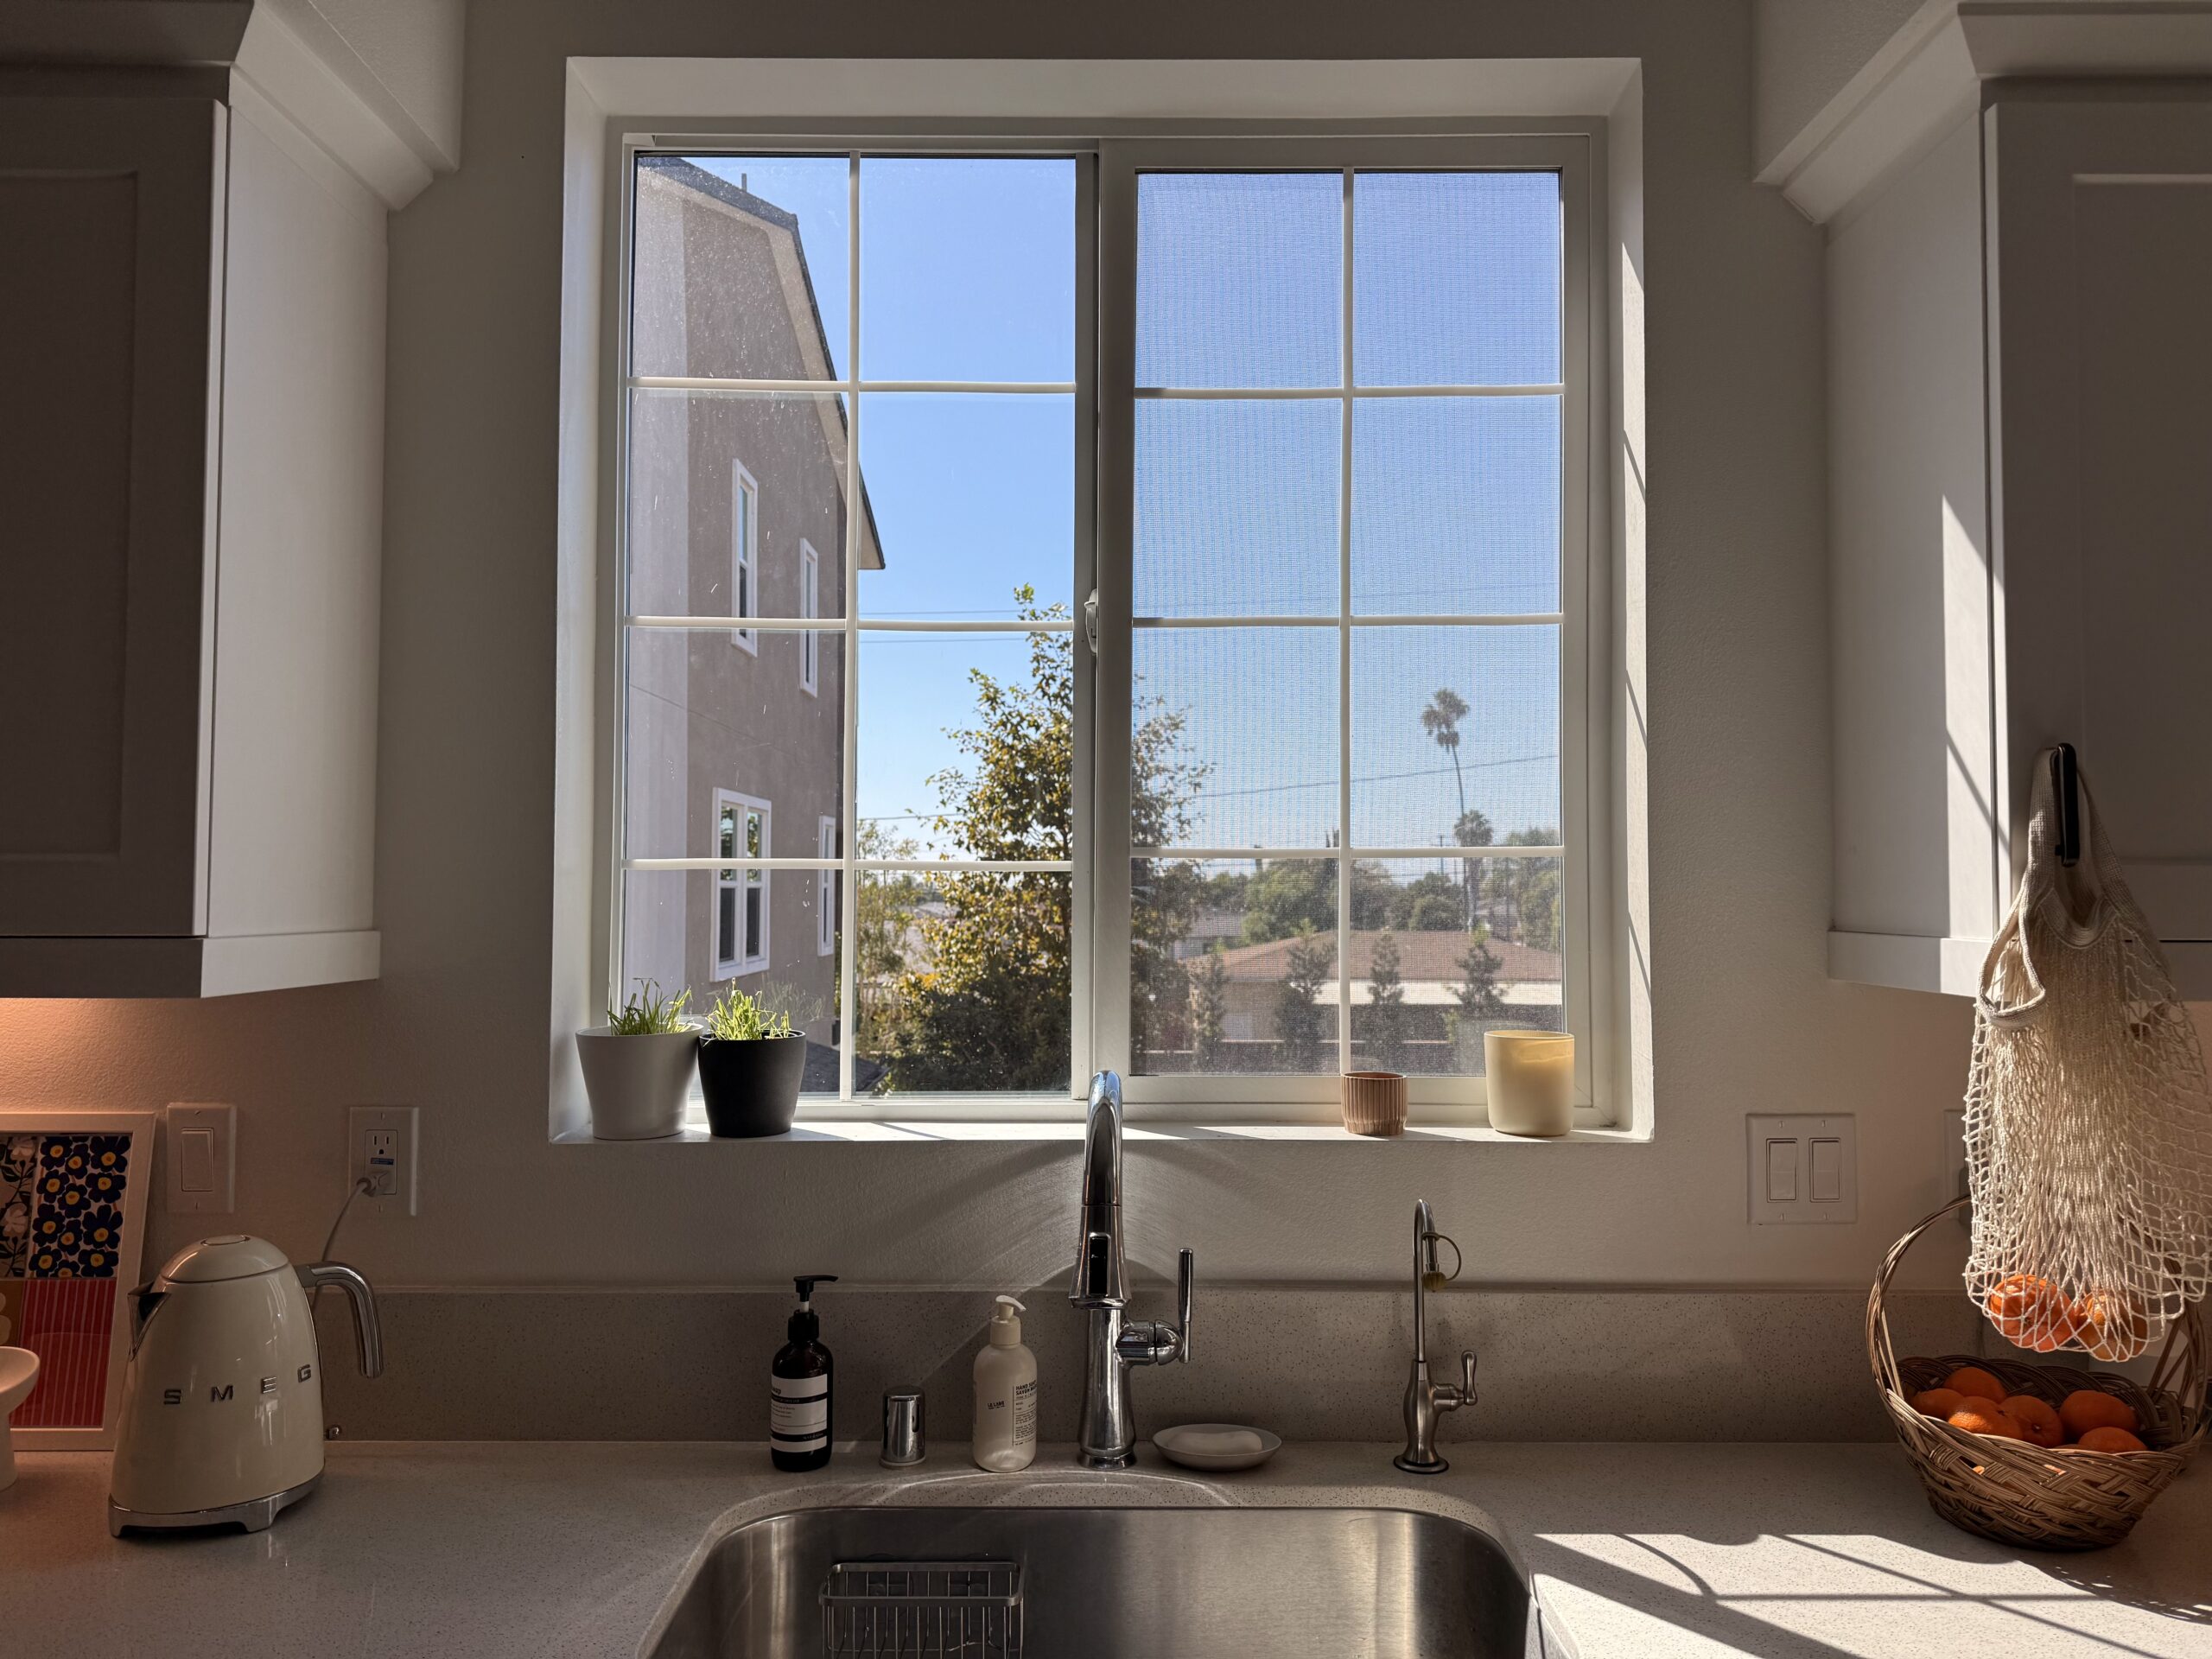
Peel and Stick Window Grids: How I Gave Our Plain Kitchen Window Classic Character in One Hour
Our kitchen window has the best view in the house, and for four years it was the only window we never dressed. This is part one of finally giving it the attention it deserves, and it starts with peel and stick window grids: white tape strips that turned one big, plain pane of glass into a classic grid in about an hour.
Here’s what happened, including the one trick that made the difference between strips that look straight and strips that actually are.
Shop This Post
*This post contains affiliate links. I may earn a small commission at no extra cost to you.

The Window We Stared at for Four Years
We live in Los Angeles, and I’ll be real: most LA windows don’t come with a view. There’s no New York skyline at night, and no forest or farmland. We don’t get snow, we barely get fall color, and it hardly rains. Most of our windows look straight at other people’s buildings.
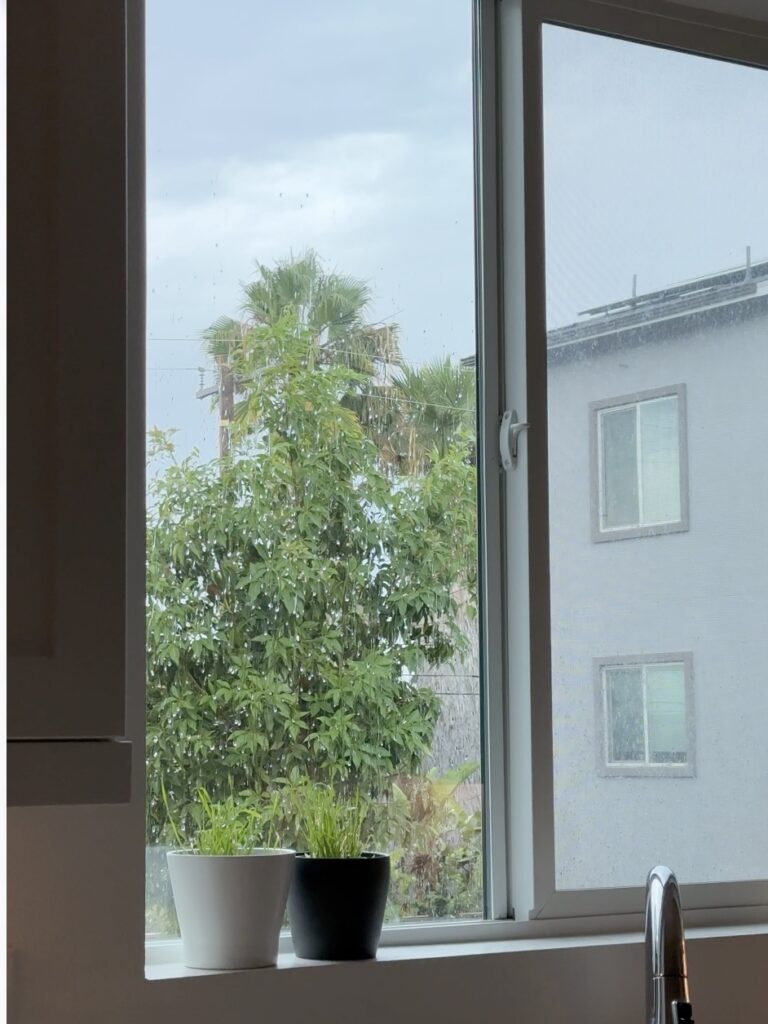
This one is different. Our kitchen is on the second floor, and this window faces open sky, a few palm trees, and a row of cute one-story houses, with almost nothing blocking the view. It’s the prettiest scenery we have, and it’s also the window we look at most. The sink faces it directly, so we see it every time we wash dishes, rinse fruit, or do meal prep. It’s also the first window people see when they walk into our house.
But it faces west. In the late afternoon, the sun comes straight in, right into your face while you’re standing at the sink. It gets hot, it’s rough on the eyes, and it hits our TV (which faces the dining area) with a glare that makes it impossible to watch at the wrong time of day. Every time, one of us would say, “We should really get a curtain.” It took us four years.
So I made a plan: a three-part kitchen window makeover. Part one is the grids.
Why Window Grids?
I’ve always loved window grids. They’re classic, and they add depth, character, warmth, and a sense of history that a plain window just doesn’t have.
A lot of newer windows are big and practical, one big chunk of glass in a white vinyl frame with no trim and no design around it. That’s exactly what we had: a naked window surrounded by white walls. I’ve always daydreamed about looking out at a European street or some gorgeous natural scenery, and our view isn’t quite that. But I could change the frame I see it through.
Do Peel and Stick Window Grids Look Real?
From a few feet away, yes. They read as real divided-light windows, especially in white against a white vinyl frame. Up close, I can find a spot or two where a line is a hair crooked. So I tested it. I asked my husband if he could see anything crooked, and he said he didn’t notice anything, even when I tried to point it out. His first reaction was, “Wow, they make the window look completely different.”
My Layout: A 4×4 Grid on a Sliding Window
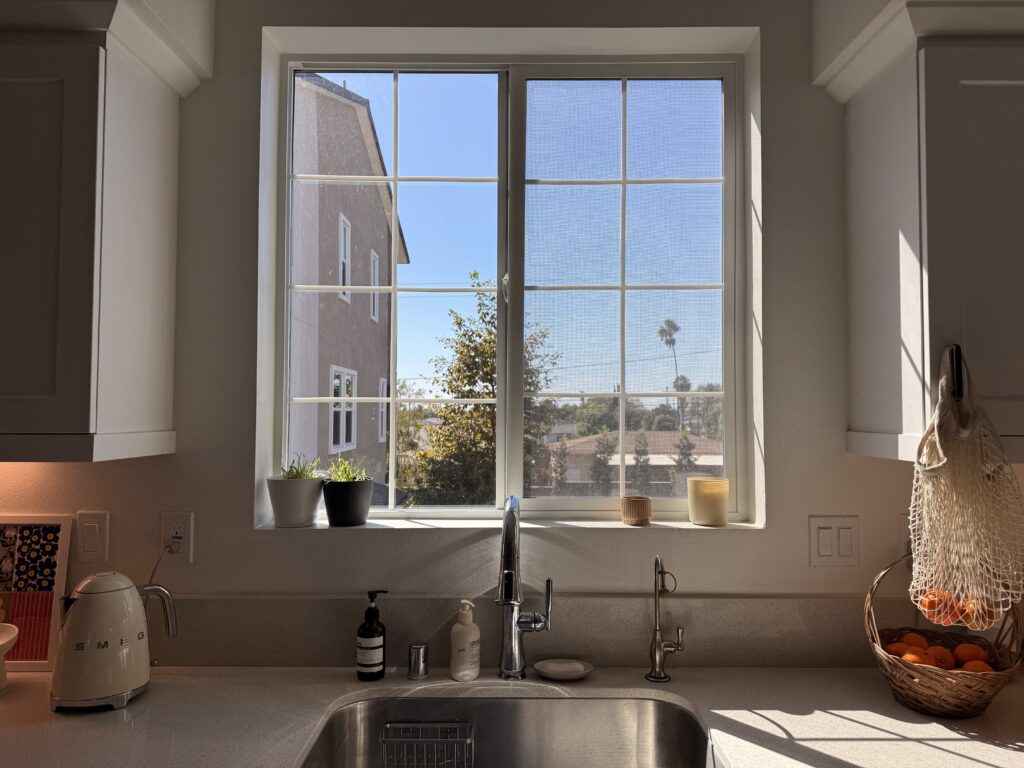
Our window is a sliding window with two glass panels that move left and right. I gridded both panels in a 2×4 pattern: two columns and four rows, which makes eight little squares per panel. Together, that’s sixteen squares in a 4×4 grid across the whole window.
I chose white strips to match the white vinyl frame, so the grids look like part of the window instead of something added on. Both panels still slide perfectly fine.
How to Install Peel and Stick Window Grids

What I used: one 33-foot roll of white peel and stick window grid strips (about $17, and I used roughly 20 feet of it), a measuring tape, a level I already had (mine is about $6), and regular scissors.
- Clean the glass so the adhesive has a clean surface to grab.
- Do the vertical strips first. They’re the longest, so they’re the hardest to keep straight. Get them right, and everything else lines up off of them.
- Anchor, pull, then press. Stick down one end, pull the strip taut to the other end, and only then press the whole length onto the glass. There’s more on this below, because it’s the whole secret.
- Cut your first horizontal strip carefully. It took me a few tries to get one cut exactly right.
- Use that strip as your template. Once I had one perfect piece, I stopped measuring. I laid the new strip right next to the good one and cut it to match. Every horizontal came out identical, and it was much faster.
How Do You Keep Peel and Stick Window Grid Tape Straight?
Fix one end in place, pull the strip taut to the other end, and press the whole thing down at once, never bit by bit.
You’d think a measuring tape and a level would be enough for this project. They weren’t. What got me was how easily these strips curve. If you stick them down an inch at a time, every inch looks straight, and then you step back and realize the whole line has drifted to one side. It looks straight to your eye, and sometimes even to the level, until it doesn’t.
What finally worked was this:
- Stick down just the top end so it doesn’t move.
- Keep the middle off the glass entirely.
- Hold the bottom end, pull gently so the whole strip goes taut and straight, and check it with your level.
- Then press the whole strip down.
The tension keeps the line straight, which pressing inch by inch can’t do.
How Long Does It Take?
I thought this would be a 10-minute job. It took me about an hour. To be fair, I was filming, and I was being very patient about getting every line straight. The peeling and sticking is easy. Almost all of the time goes into keeping the lines straight and getting the cuts exactly right.
Do Peel and Stick Window Grids Stay Put in Direct Sun?


Mine have been up for about a month on a west-facing window that gets direct afternoon sun, and they’re holding perfectly. The adhesive is strong. I could tell when I was adjusting them. But it still let me lift and reposition strips while I was lining them up, and nothing left residue behind. I’ll update this post if that changes.
A New Frame for the Same View
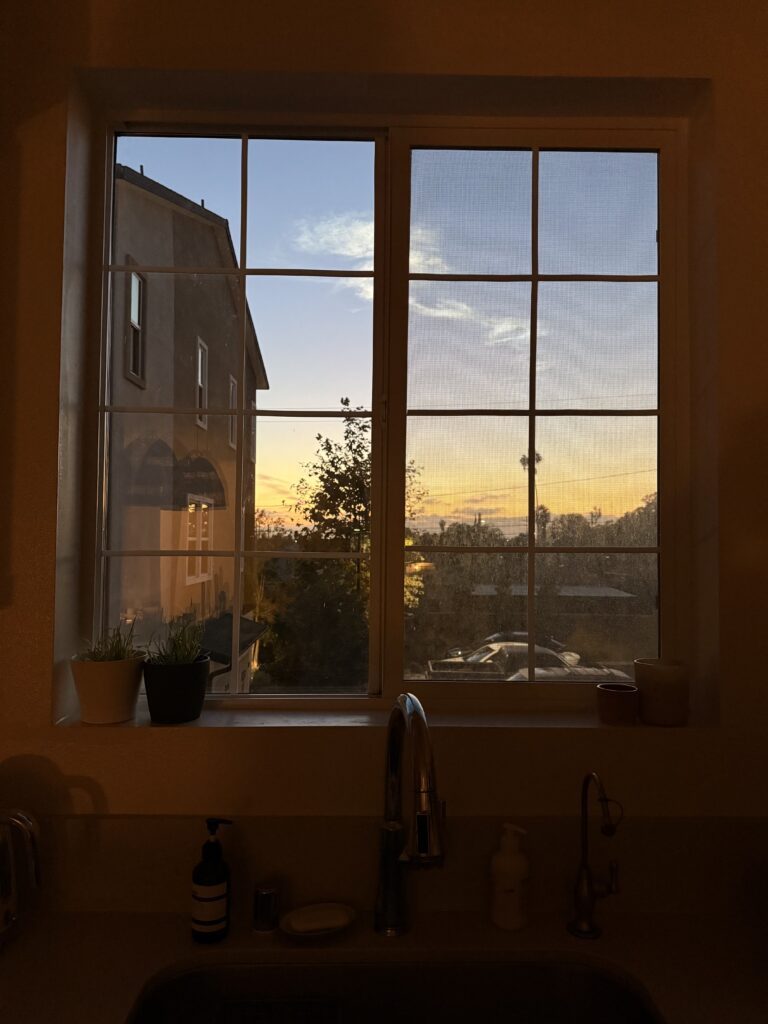
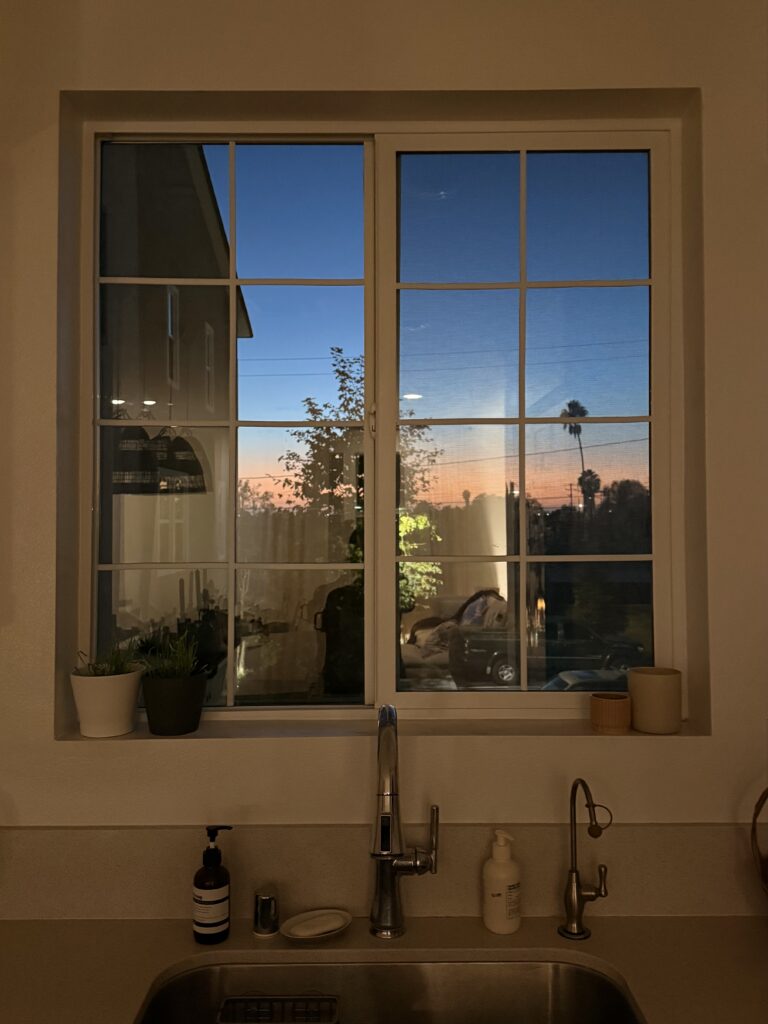
This is the part I love most. Every time I walk past the window, whether it’s midday, sunset, or at night, it feels like I’m looking at the same scenery through a more elegant, classic frame. It’s such an affordable, easy way to give yourself a little change of scenery at home.
My husband said the same thing on his own: every time he walks past the kitchen, it feels like a different place, in a good way. We both love the look.
What’s Next: Parts Two and Three
The grids fixed the character, not the sun. That’s what part two was for: custom scalloped Roman shades in a yellow stripe, which are now up and finally dealing with the afternoon sun at the sink and the glare on the TV.
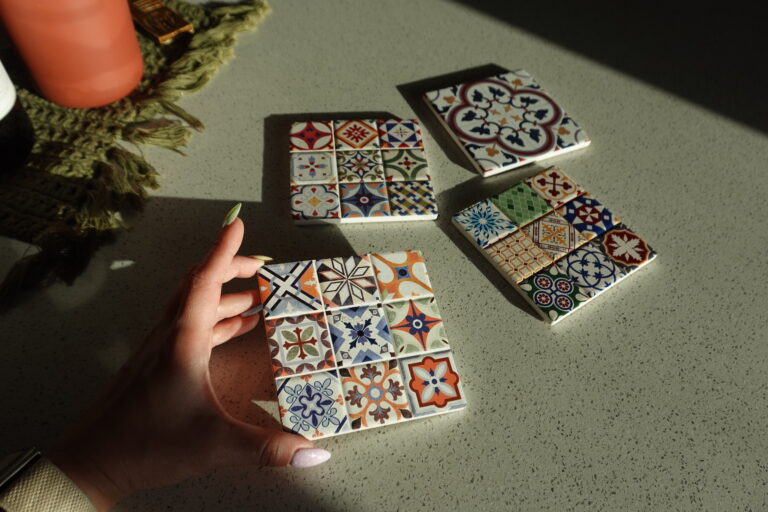
Part three is the decorating, and it’s done too. I originally wanted to tile the windowsill, but that’s a lot of time and work, so I went with a tile-look mat that rolls out and gets cut to size, plus colorful pots of cat grass for Miumiu and dried flowers that echo the shades. Full posts on both are coming.
What I’d Tell You Before You Start
- Budget an hour, not 10 minutes. The sticking is fast. Getting it straight is what takes time.
- Anchor, pull taut, then press. Never stick inch by inch.
- Start with the verticals, since the longest lines are the hardest.
- Cut one perfect horizontal and use it as your template instead of measuring every piece.
- Match the strip color to your window frame so the grids look built in.
Cost Breakdown
| Item | Cost |
|---|---|
| White peel and stick window grid strips (33 ft roll, used about 20 ft) | $17 |
| Level, measuring tape, and scissors (already had, level is about $6 new) | $0 |
| My total | $17 |
Shop This Post
- White peel and stick window grid strips: $17, one 33-foot roll did my whole window with plenty left over
- Mini level: $6, the one I checked every line with, and worth owning for any wall project
One Comment